
How to Make a Solid Wood Toolbox
How to make a solid wood toolbox with a reversible lid that doubles as storage.
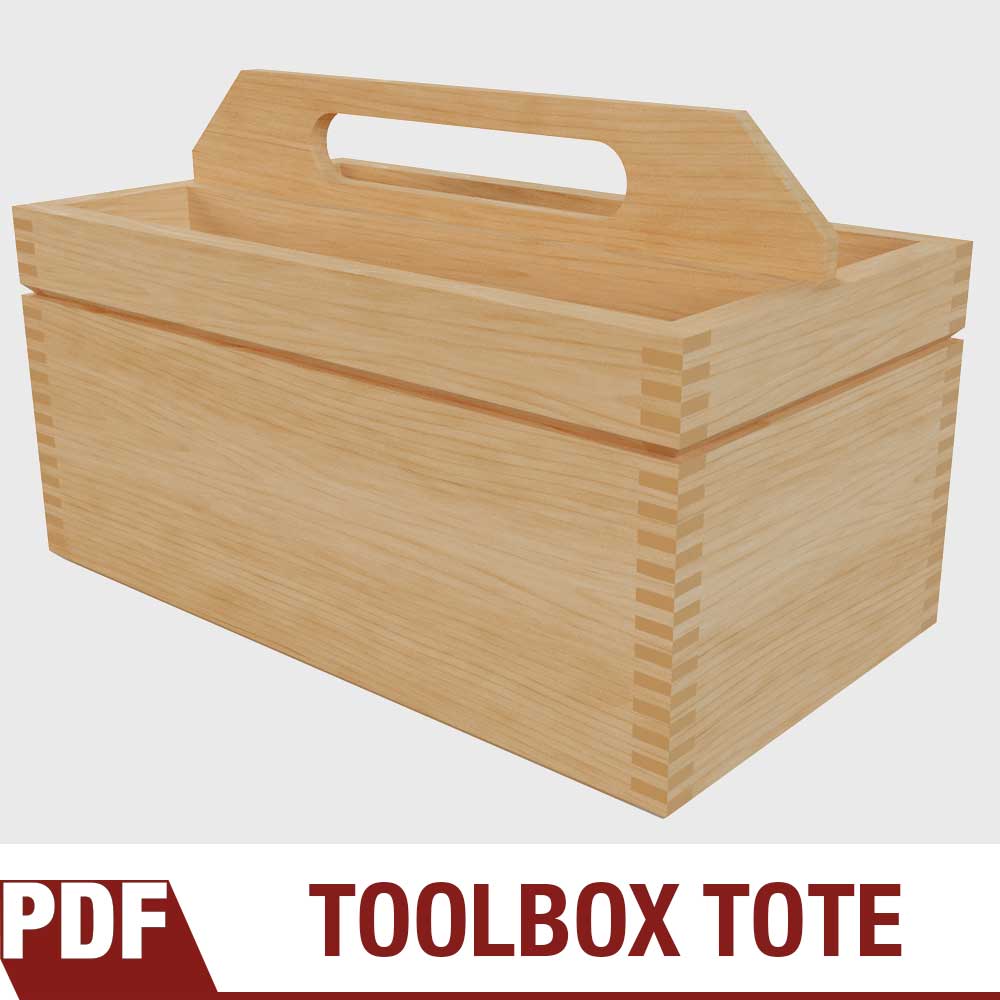
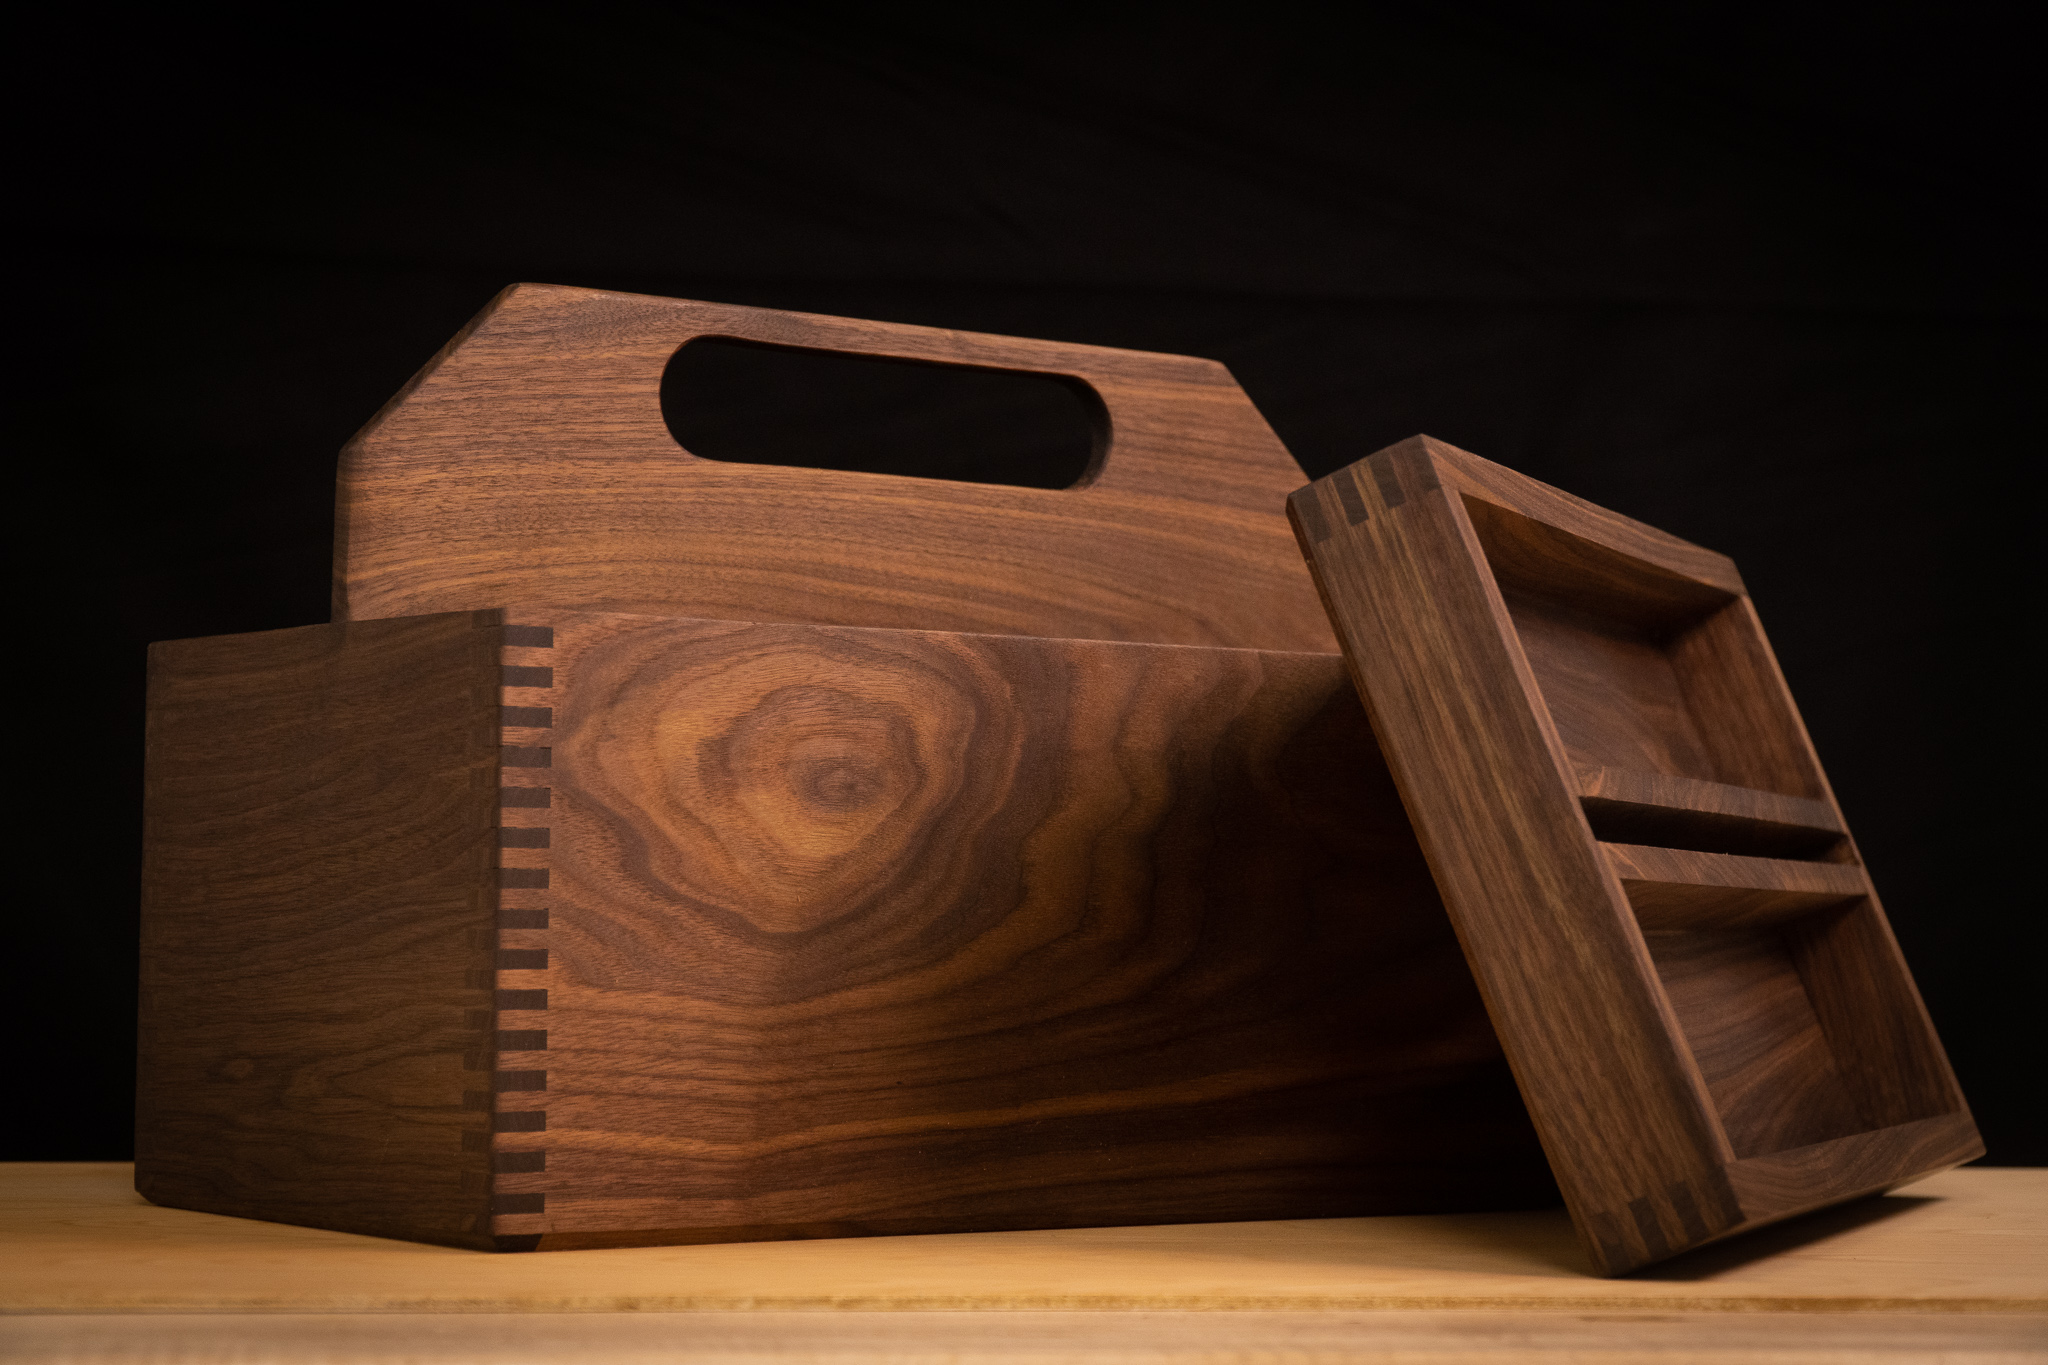
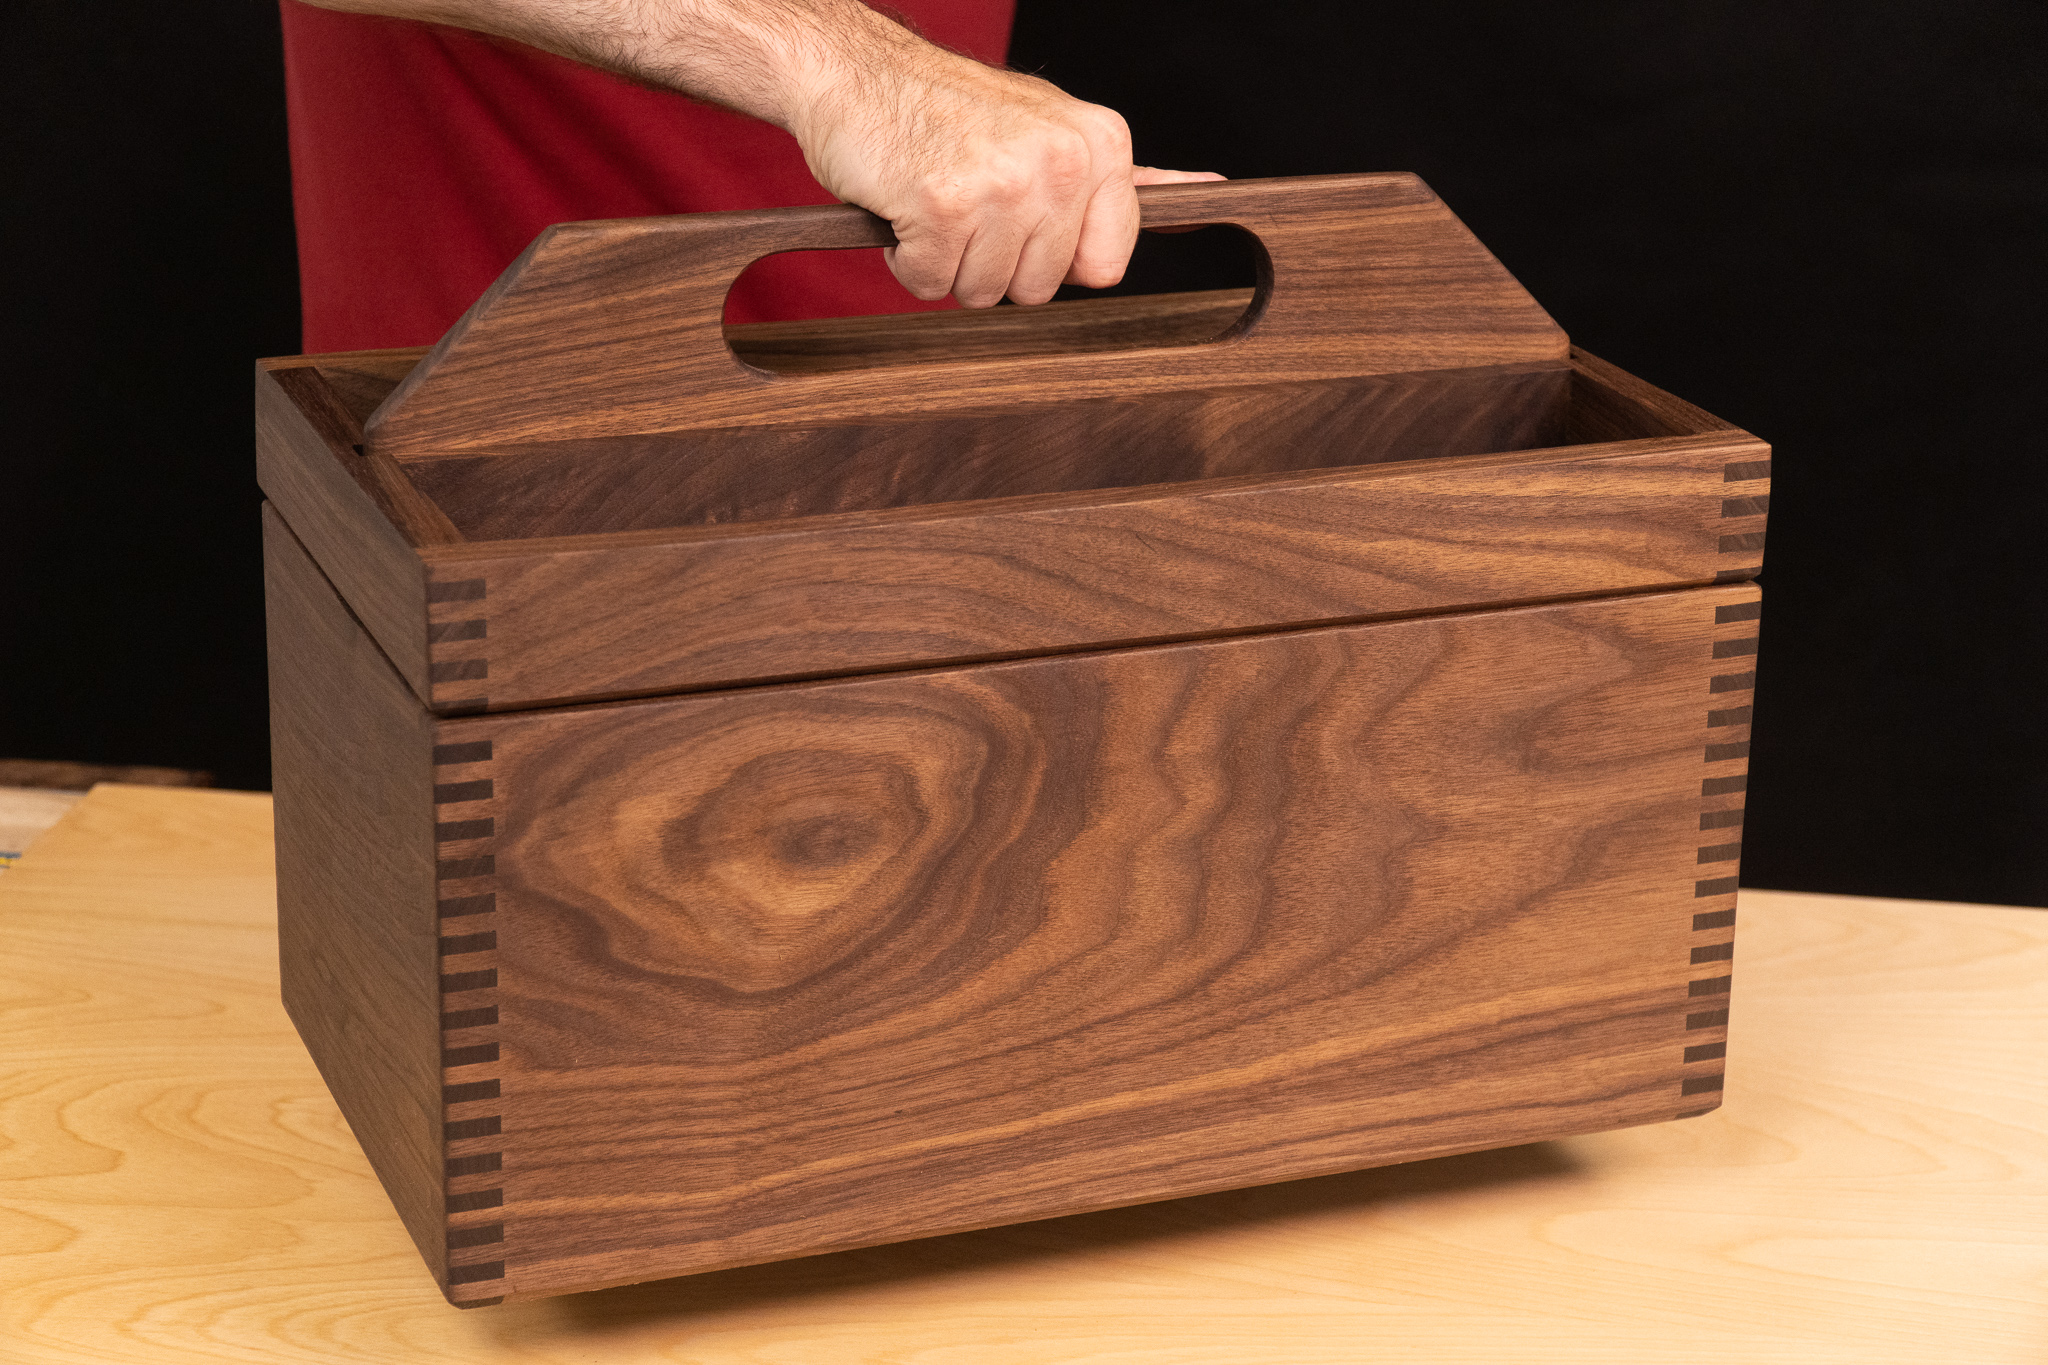
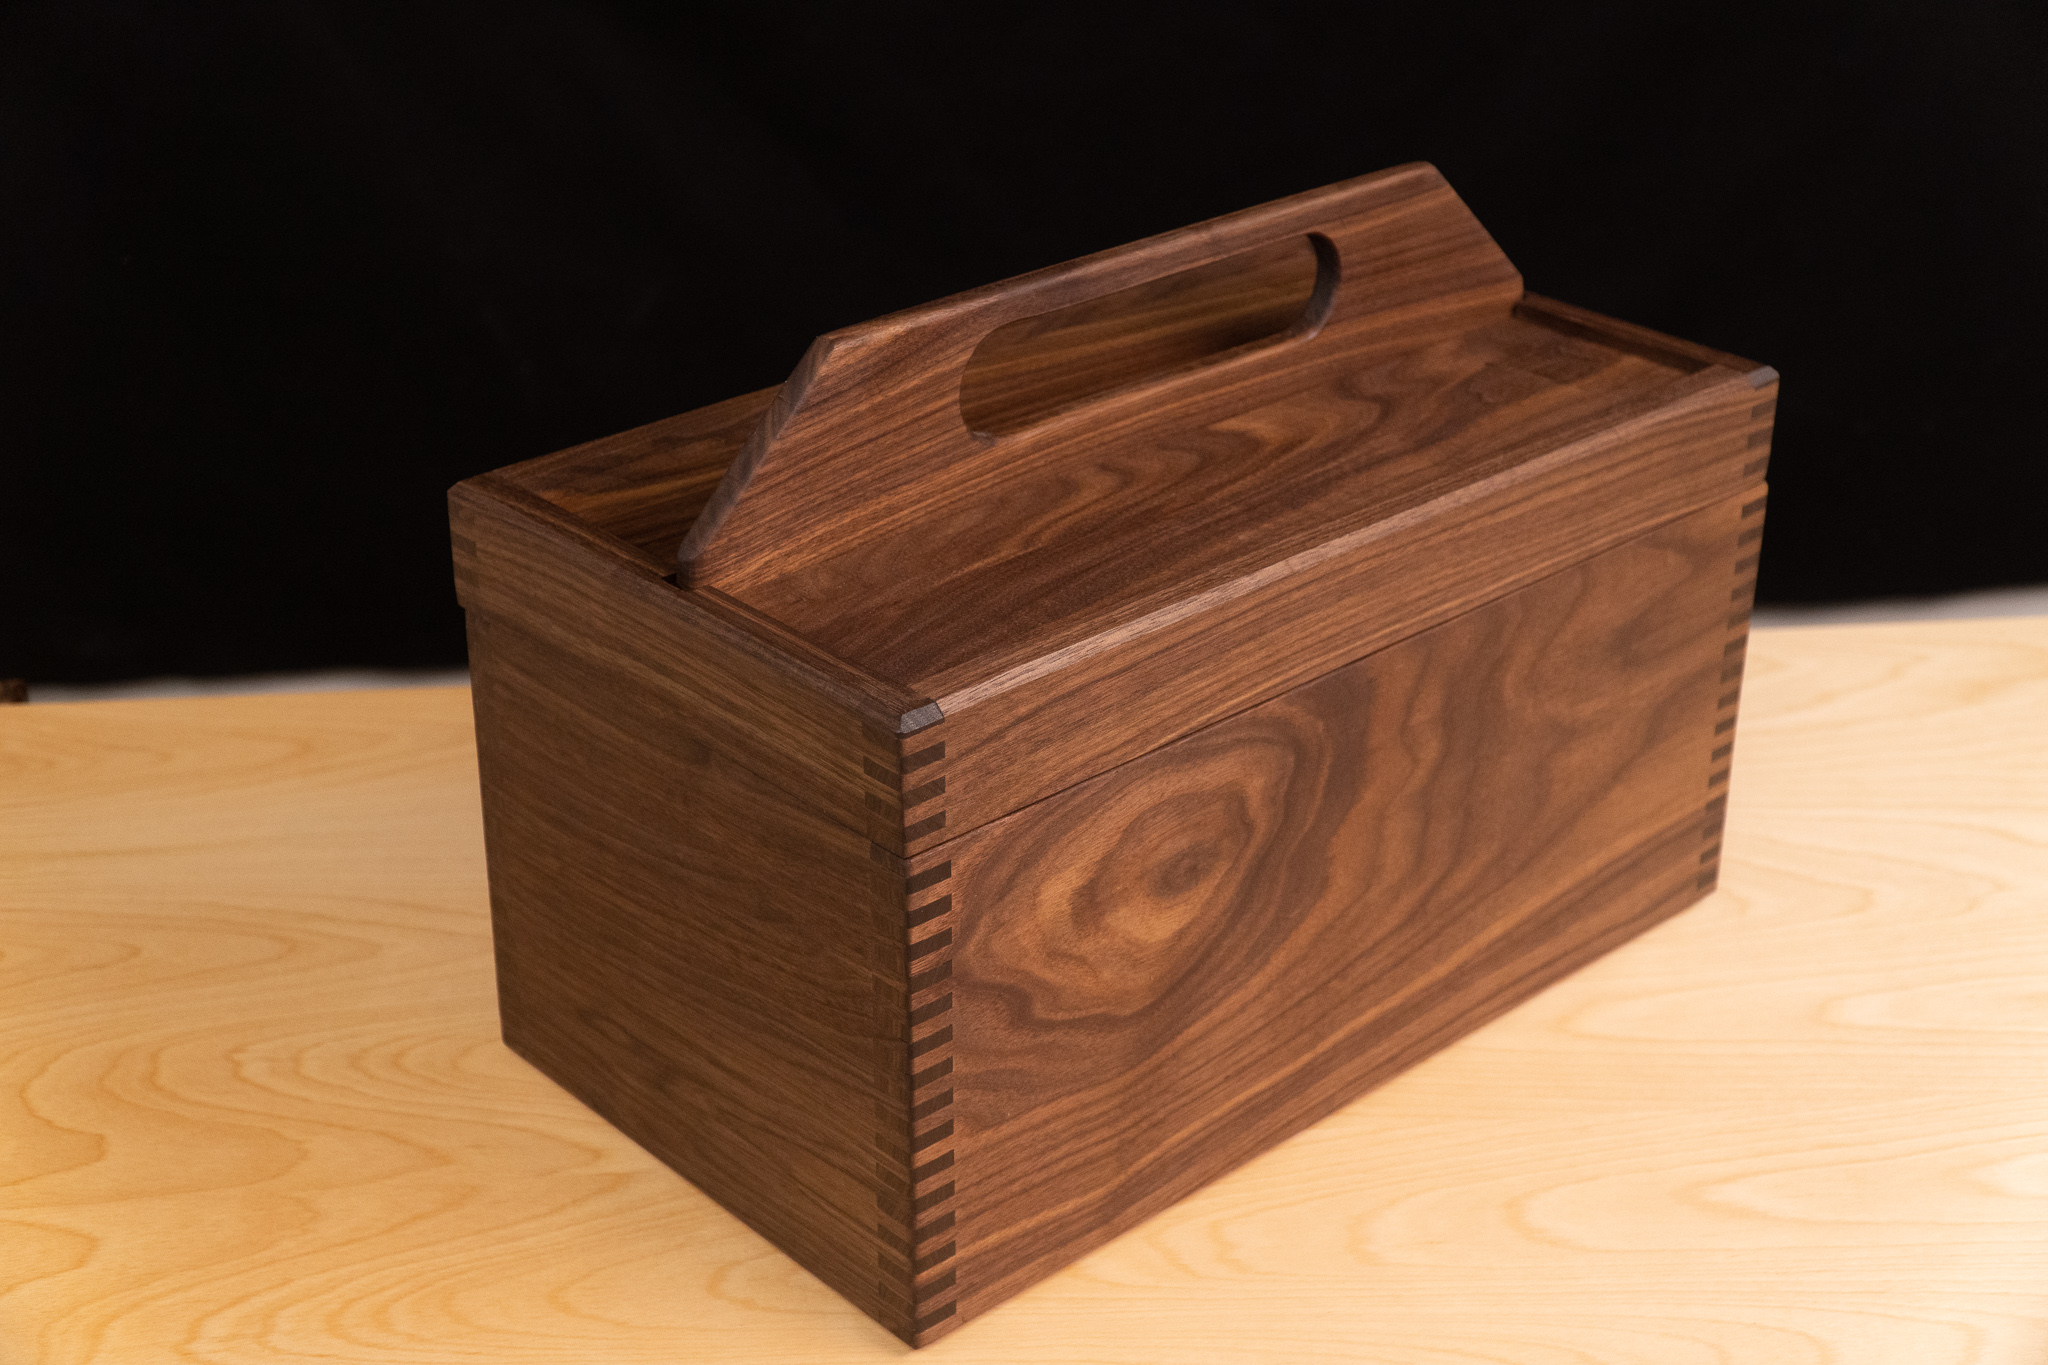
Box Joint Joinery Toolbox with Removable Lid that Doubles as Storage
How to make a solid wood toolbox with a reversible lid that doubles as storage. This is a simple and easy project for woodworkers. This beautiful walnut box uses traditional box joint joinery that can easily be done on the tablesaw or router. The removable lid slides over the handle and is a great place for small parts and tool storage. The entire tool box is made with solid hardwood and will last many lifetimes. Follow along and build one for yourself with step by step instructions in the video and if you need measurements and more details I have clear and easy to understand plans.
How to Make Box Joints with a Router
How to Make Box Joints with a Tablesaw


Quick and Easy Tool Bench From Plywood With Free Plans
Step-by-step instructions on making a tool bench from plywood. Very easy woodworking project with basic tools.
Perfect for Bench Top Tools with Lots of Storage
This tool bench is easy to make and made almost entirely out of 3⁄4" plywood. Goes together quick and can be made with almost no clamps. The width of the base is 40" which can easily be modified by lengthening the rails. You can also easily modify the height by adjusting the leg size. You ready? Let's Make Something!
Tools Used in this Woodworking Project


How to Make a Box Joint Jig. Quick Simple and No Dado Needed.
How to make a finger joint/box joint jig. Quick and easy and you don't need a dado stack. Step by step tutorial that can be used on any table saw.
How to make a finger joint/box joint jig. Quick and easy and you don't need a dado stack. Step by step tutorial that can be used on any table saw.
Tools and Supplies Used to Make This Woodworking Jig

How to Make a Miter Saw Table
Detailed, step-by-step tutorial on how to make a miter saw table with extension wings and stop block.
Step-by-step Miter Saw Station Build
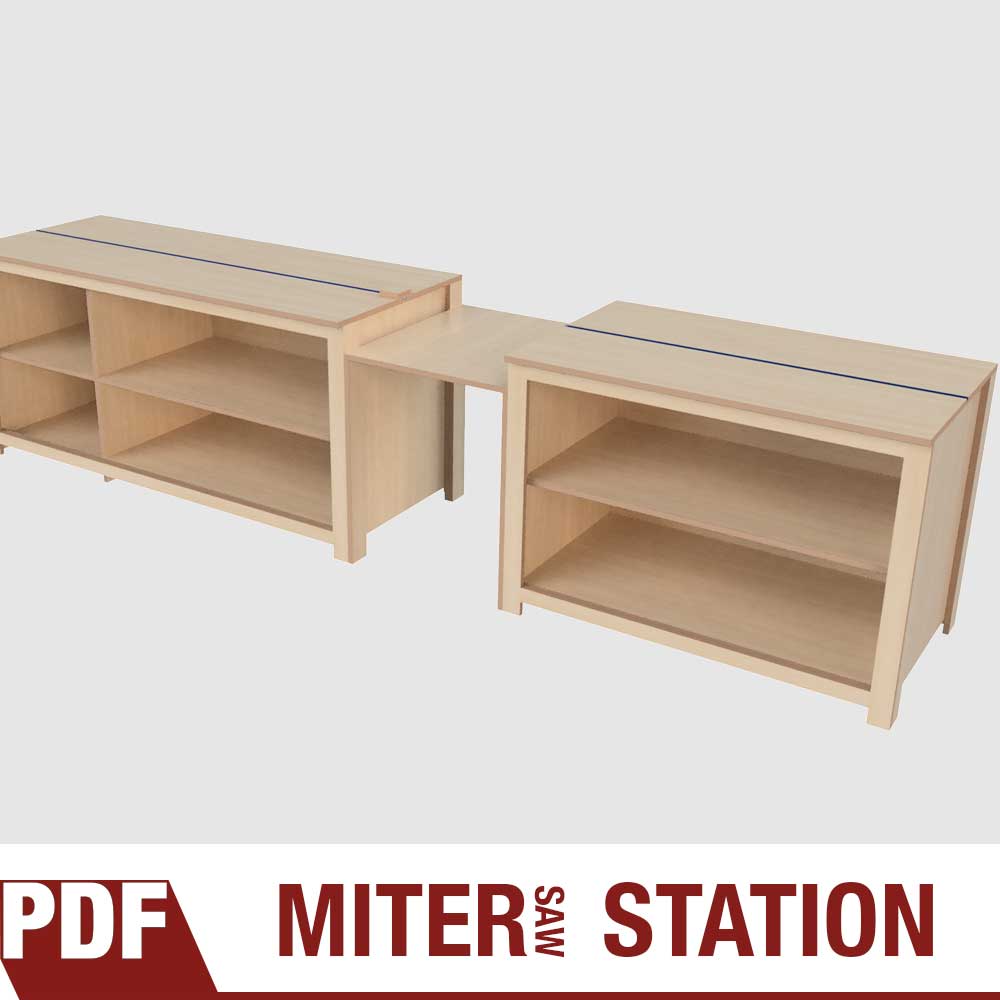
For a long time I had a miter saw without a table and I can tell you from experience that a dedicated station with support will increase the functionality and value of your machine. Having that added support for long pieces and a stop block system will make your workflow faster, safer with more precise and repeatable crosscuts. In this tutorial I show you how to make a quick and easy miter saw table completely out of 3/4" plywood. And don't be fooled by "quick and easy", this shop project will look good in any woodworking space. Get the plans for this miter saw table!
Tools and Supplies Needed for This Woodworking Project


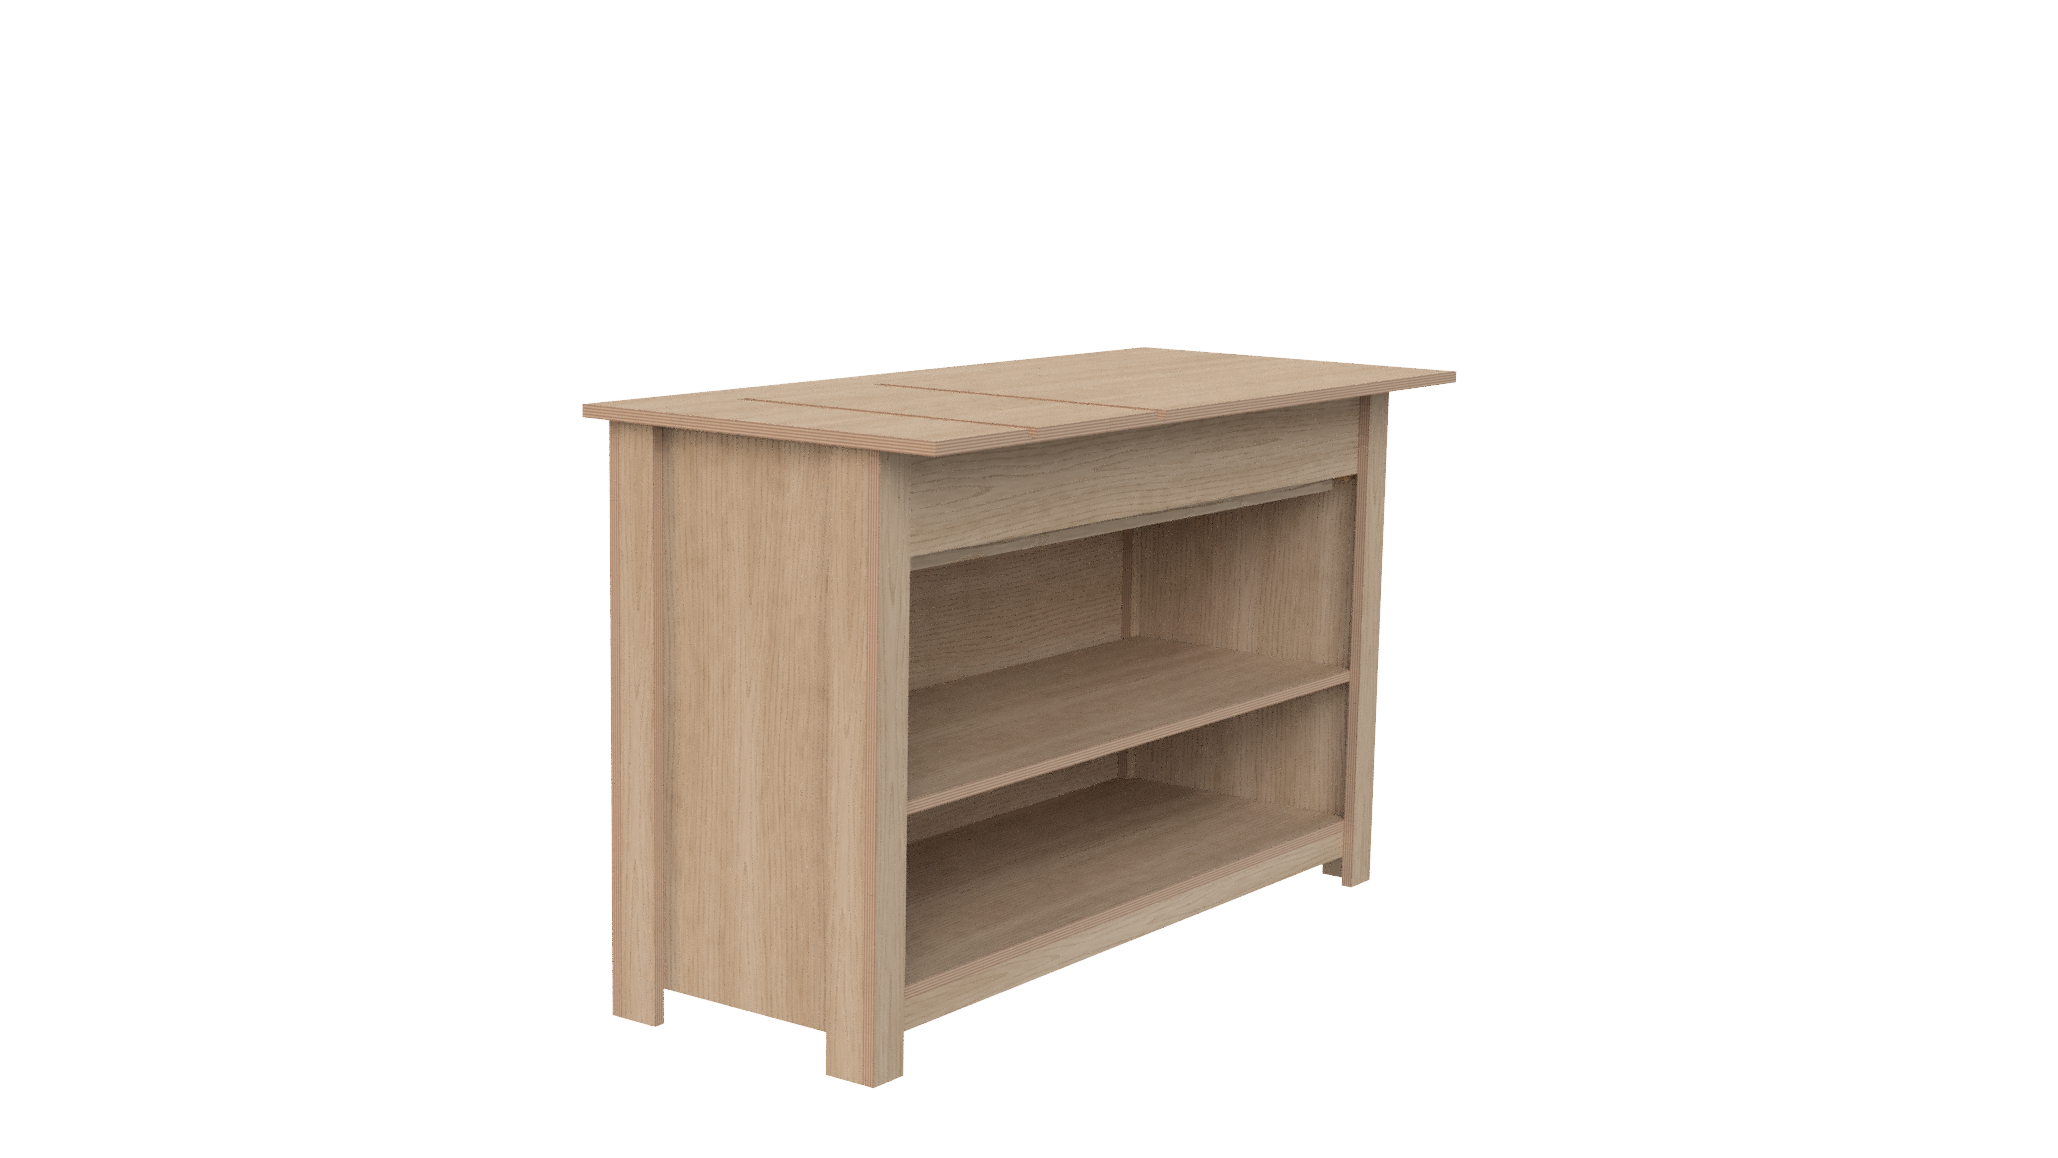
How To Make a Simple Tablesaw Outfeed Table From Plywood
Detailed, step-by-step tutorial on how to make a tablesaw outfeed table.
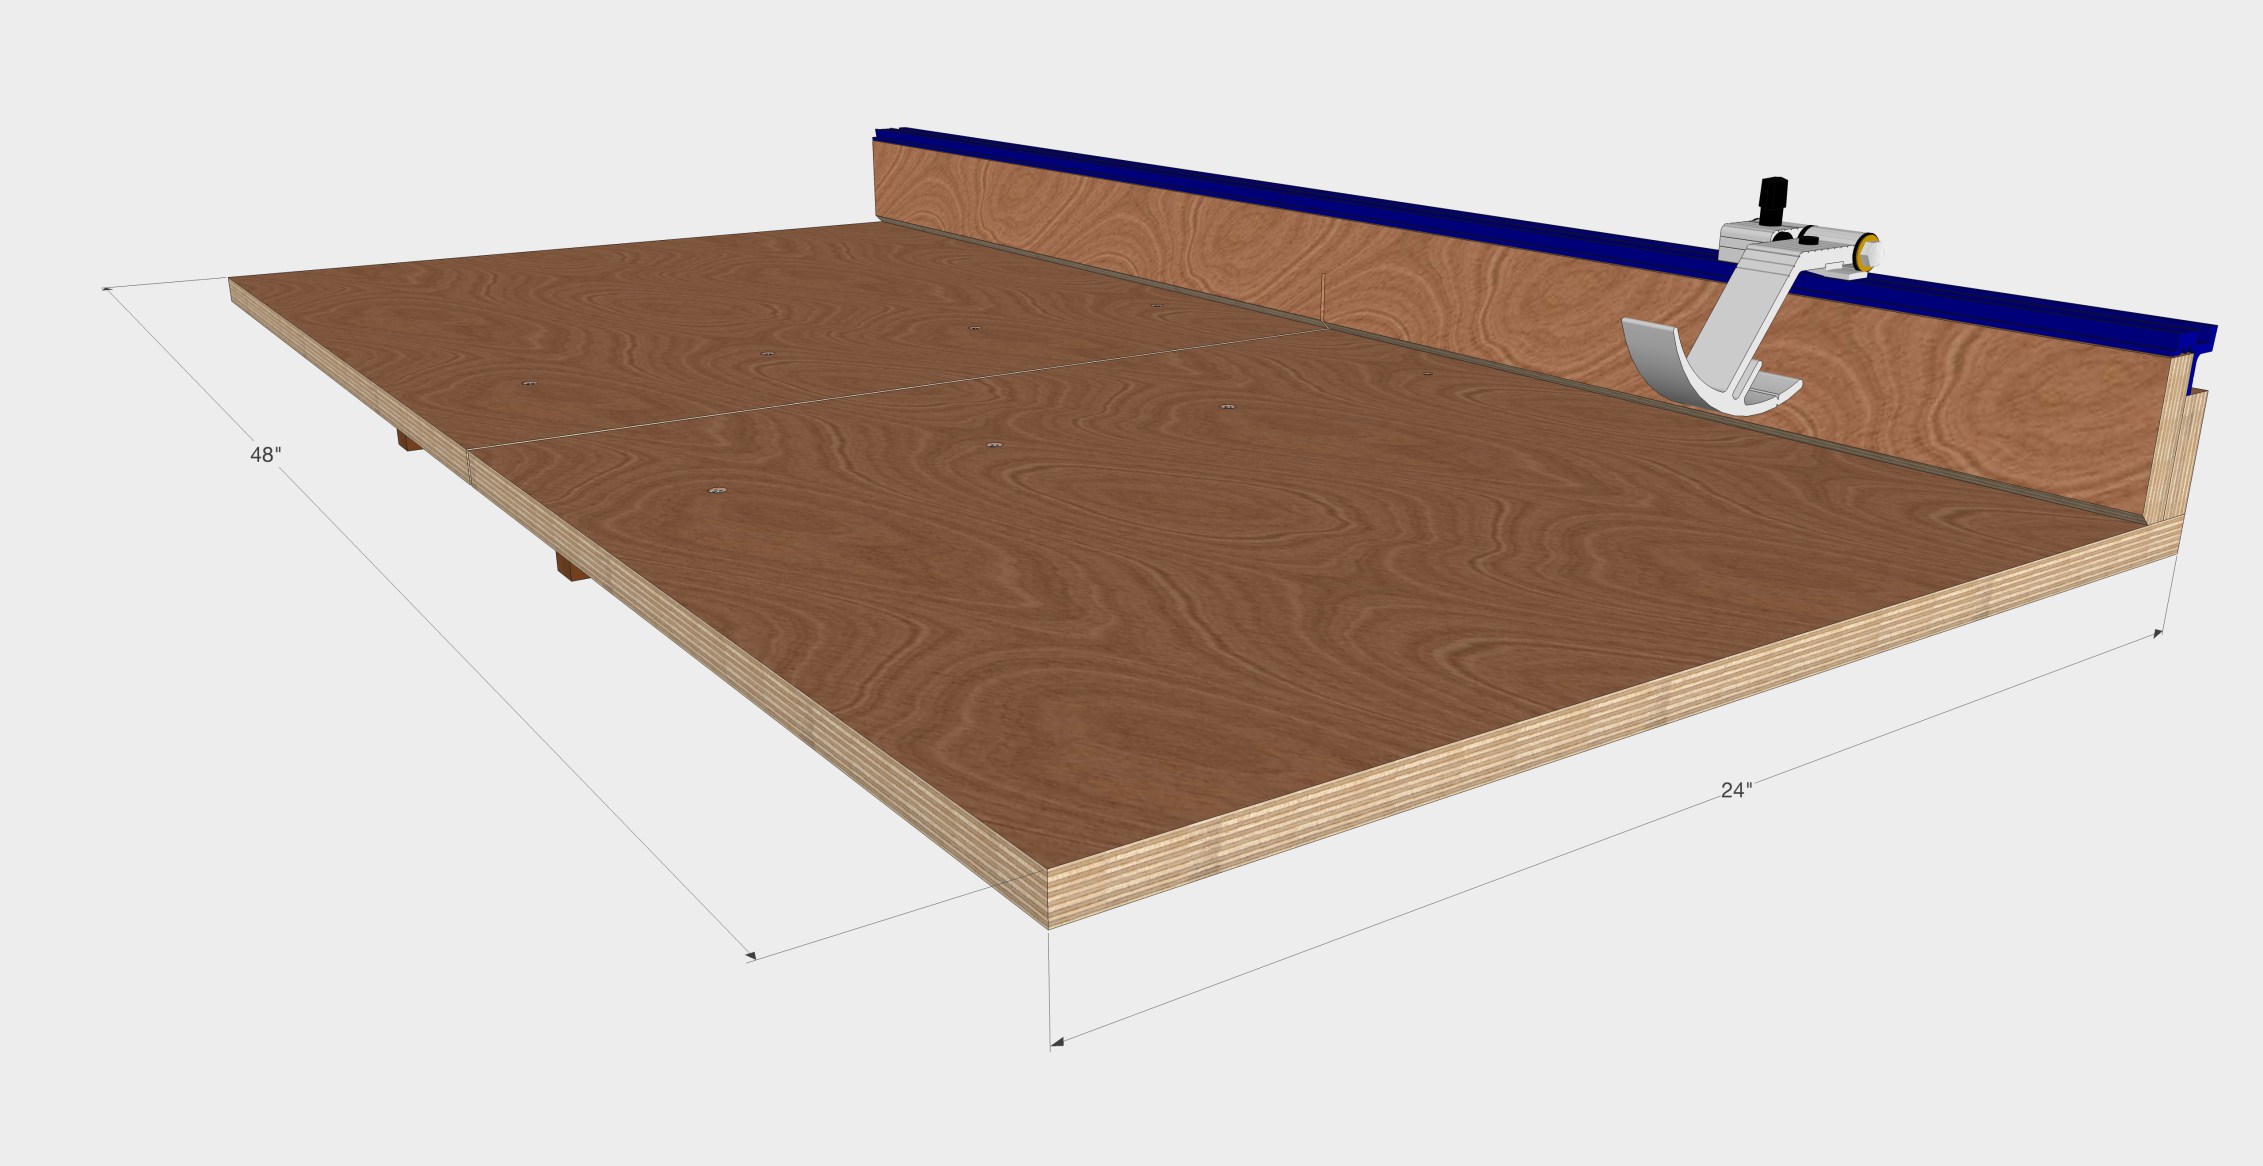
Step-by-step Tablesaw Outfeed Table Tutorial
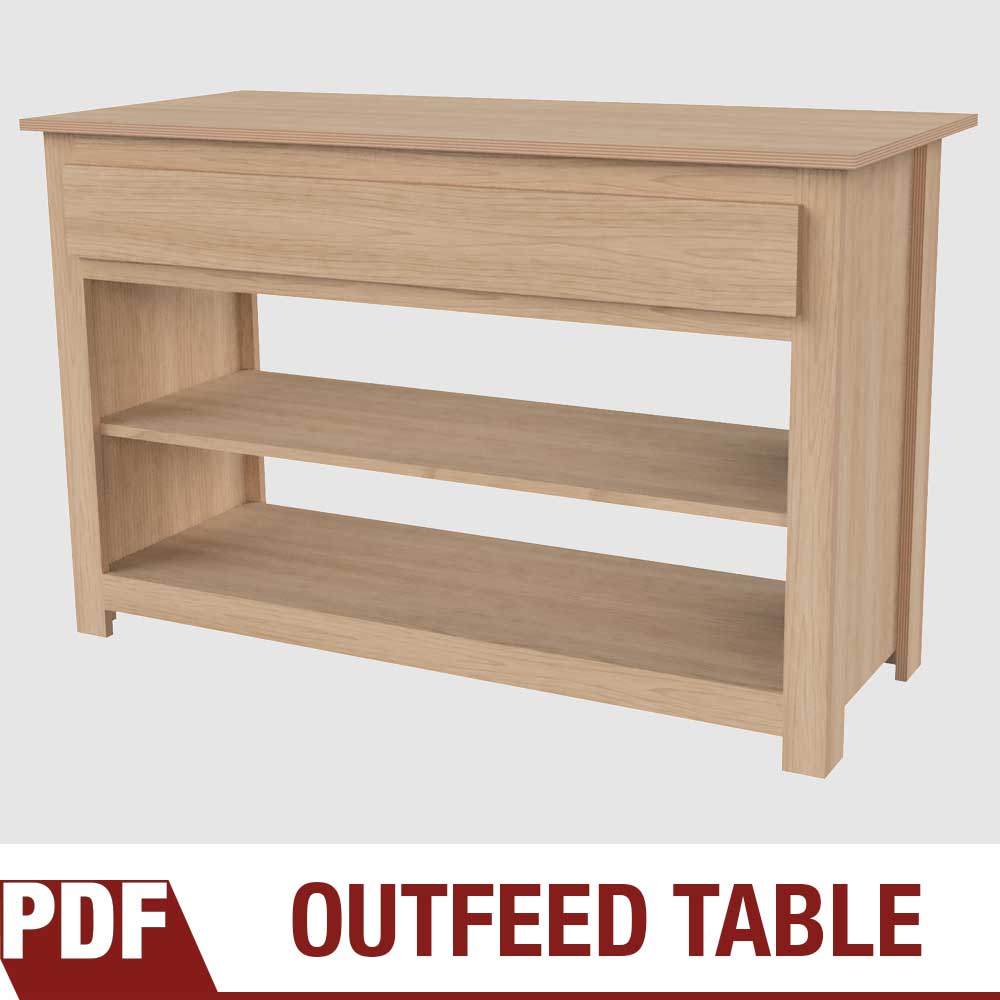
Every woodworker needs a tablesaw outfeed table. You need that added support beyond your saw to support long pieces not only for safety, but to make your tool easier to use. I prefer my shop furniture to be simple and made from common supplies, and this outfeed table couldn't be easier to make. Everything but the drawer is made from 3/4" baltic birch plywood and fastened together with glue and screws. This outfeed table goes together quickly and will expand the capabilities of your tablesaw no matter how big or small your machine is. Get the plans for this outfeed table!
Tools and Supplies Needed for This Woodworking Project
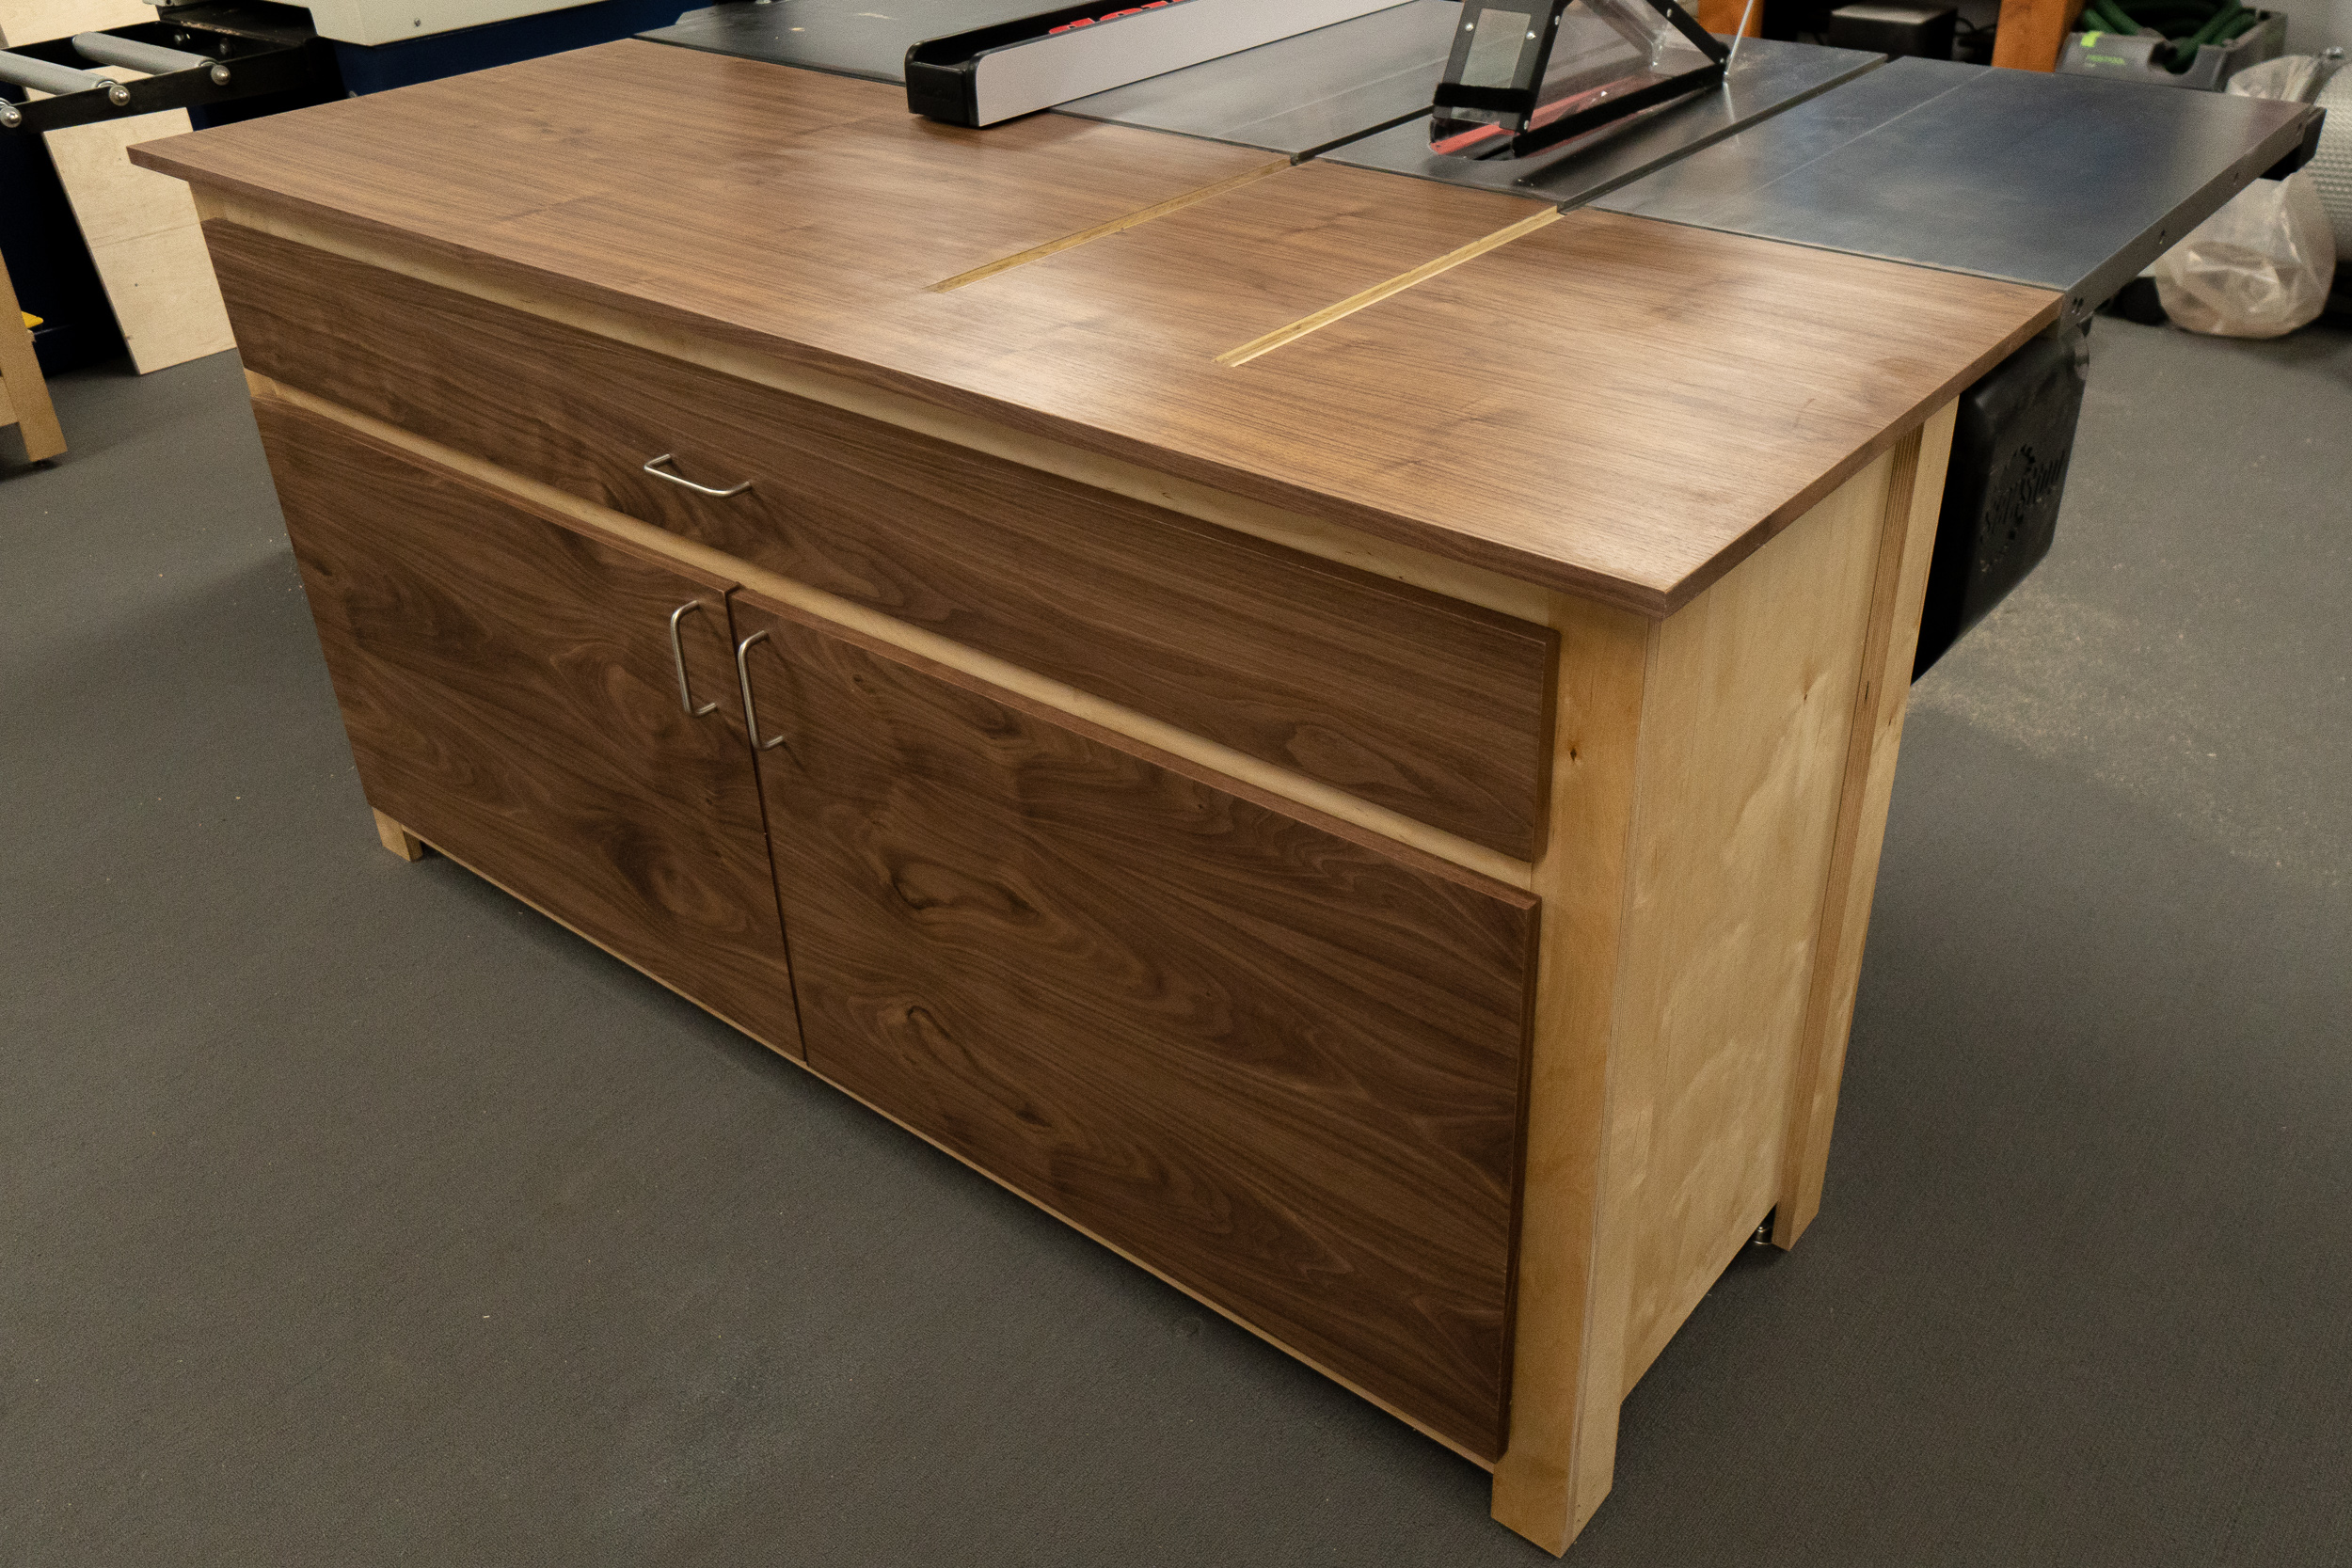


Making The Ultimate Workbench for the Modern Woodworker
Imagine having your most-used woodworking tools right where you need them, when you need them. Here’s how to make a modern workbench.
Imagine having your most-used woodworking tools right where you need them, when you need them. The perfect workbench does just that, making every project easier, more efficient, and generally more fun. In Part 1 of this two-part tutorial, I’m working on my dream workbench, giving me dedicated spaces for clamps and tools, as well as modern touches like space for a built-in dust extractor and air compressor.
With this how-to guide, I take you through my process step by step, giving you the basics you need to design a modern workbench with all the electric bells and whistles that lead to successful projects. From here, you can customize your workbench to suit your specific woodworking needs. It turns out it’s true—you never know what you need in a workbench until you’ve worked on one long enough to know your process. I hope this tutorial inspires you think about your process, and then design a workbench that provides what you need when you need it.
Tools and Supplies Used in Making this Workbench

How to Make a Wood Mallet
Making a wood mallet is a quick an easy woodworking project anyone can do with some basic woodworking tools.
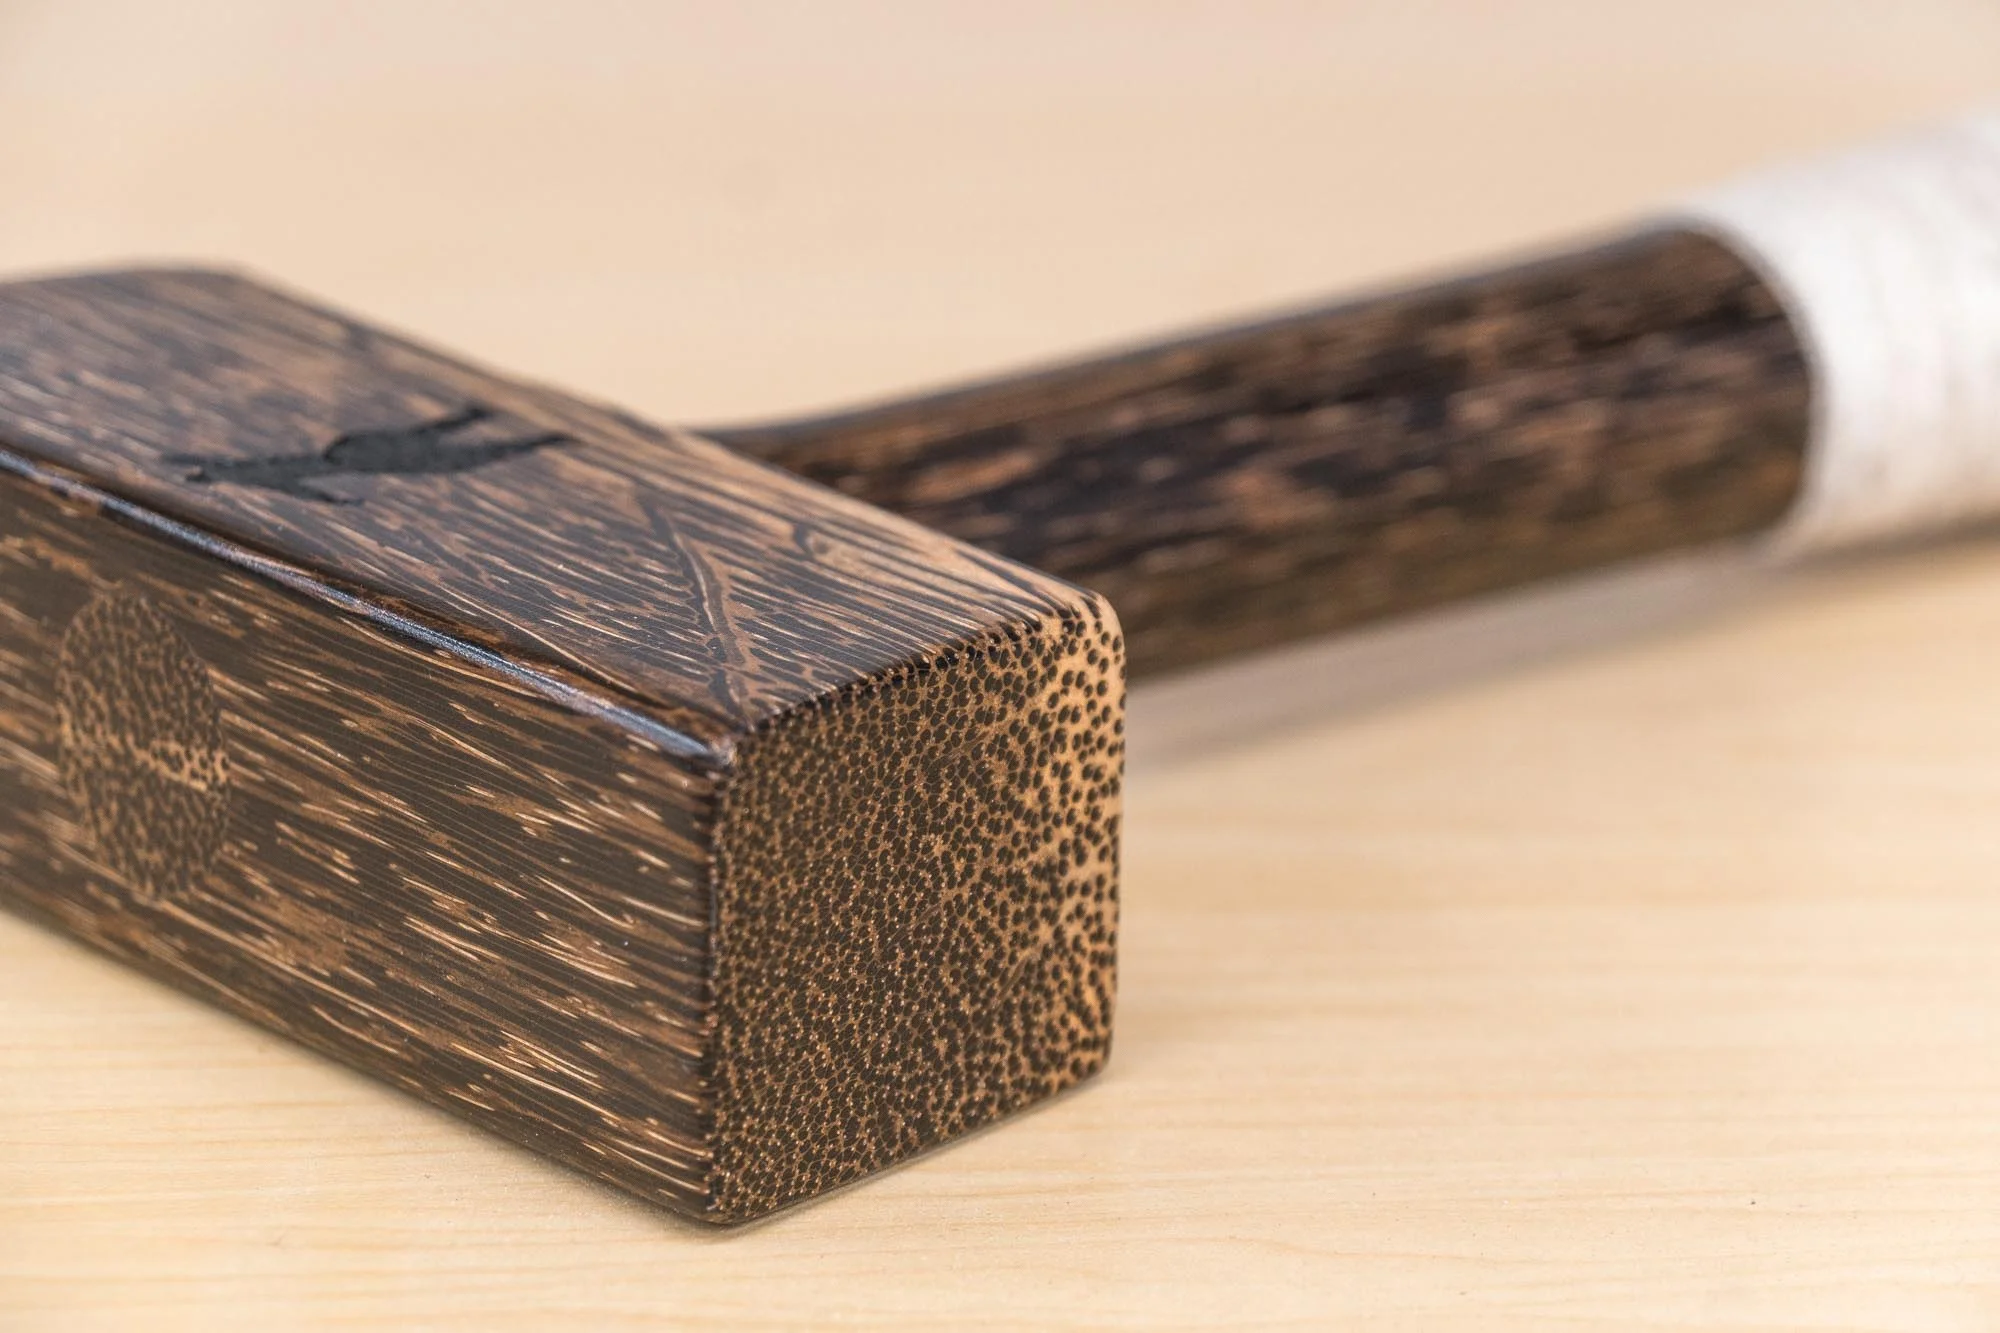
The Making of a Wood Jointers Mallet
Making a wood mallet is a quick an easy woodworking project anyone can do with some basic woodworking tools. For this project I decided to use some fancy leftover coconut palm wood but any wood will do. I begin by cutting the hammer head to 5.5″ long, 2″ tall out of 1.5″ thick stock. I then drill a 1″ hole completely through the top as this will hold the handle tenon. The handle is cut to 11.5″ in length and turned on the lathe. The tenon should fit easily into the hammer head mortise and then split down the middle on the bandsaw. This will allow me to make a wedge that will hold everything together very snug with wood glue.
For aesthetic reasons I wrapped the handle with baseball bat tape and tapered off the ends of the hammer head. And just for fun I laser engraved MC Hammer on one side and the phrase “Please Hammer” on the other referencing the hit album “Please Hammer Don’t Hurt ‘Em.”


How to Make The Ultimate Router Table with all the Accessories
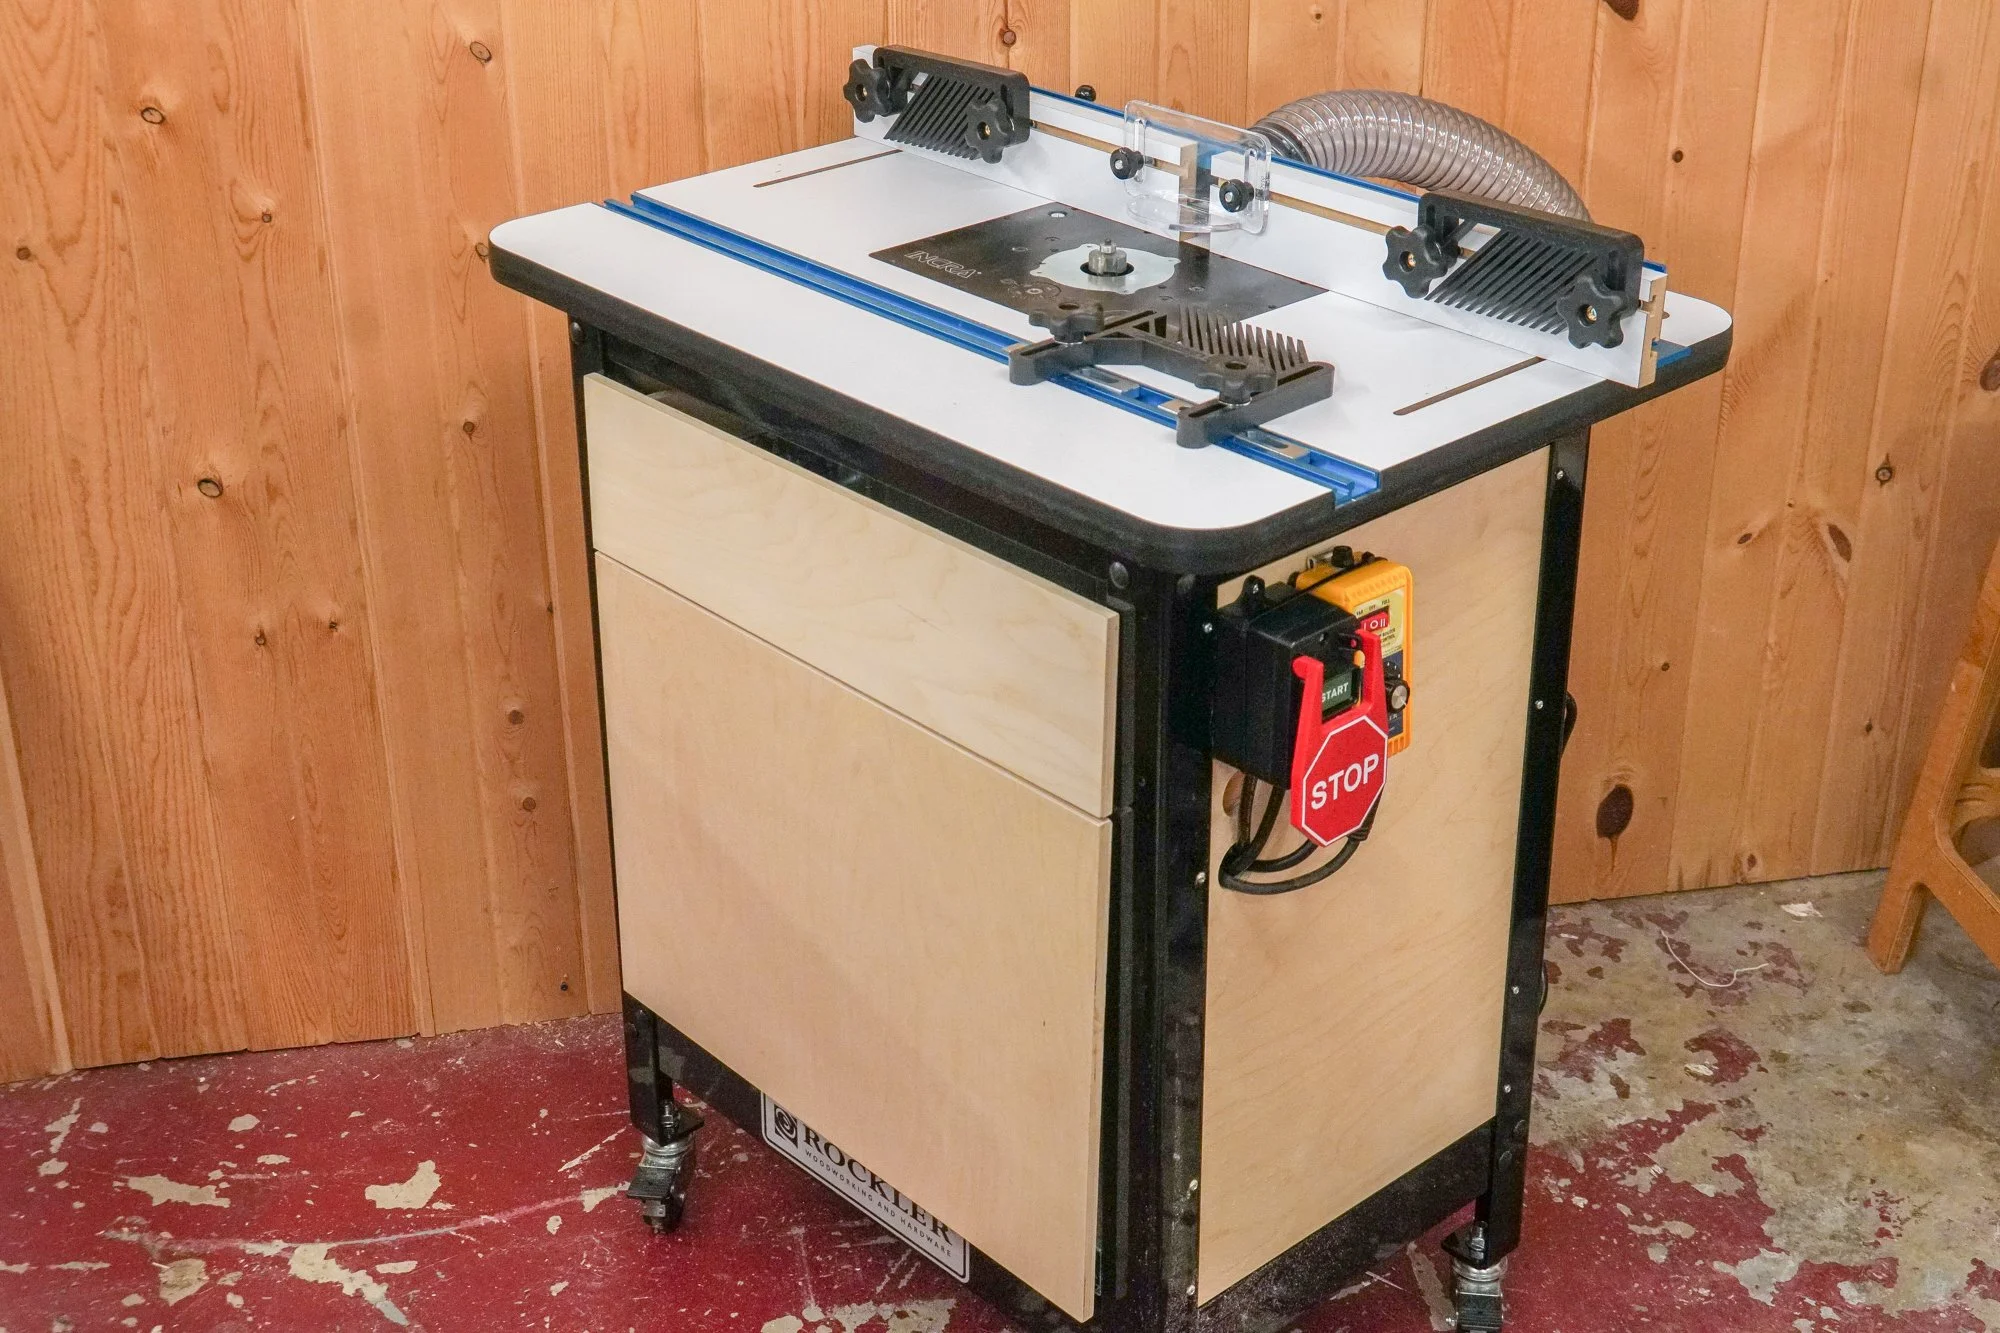
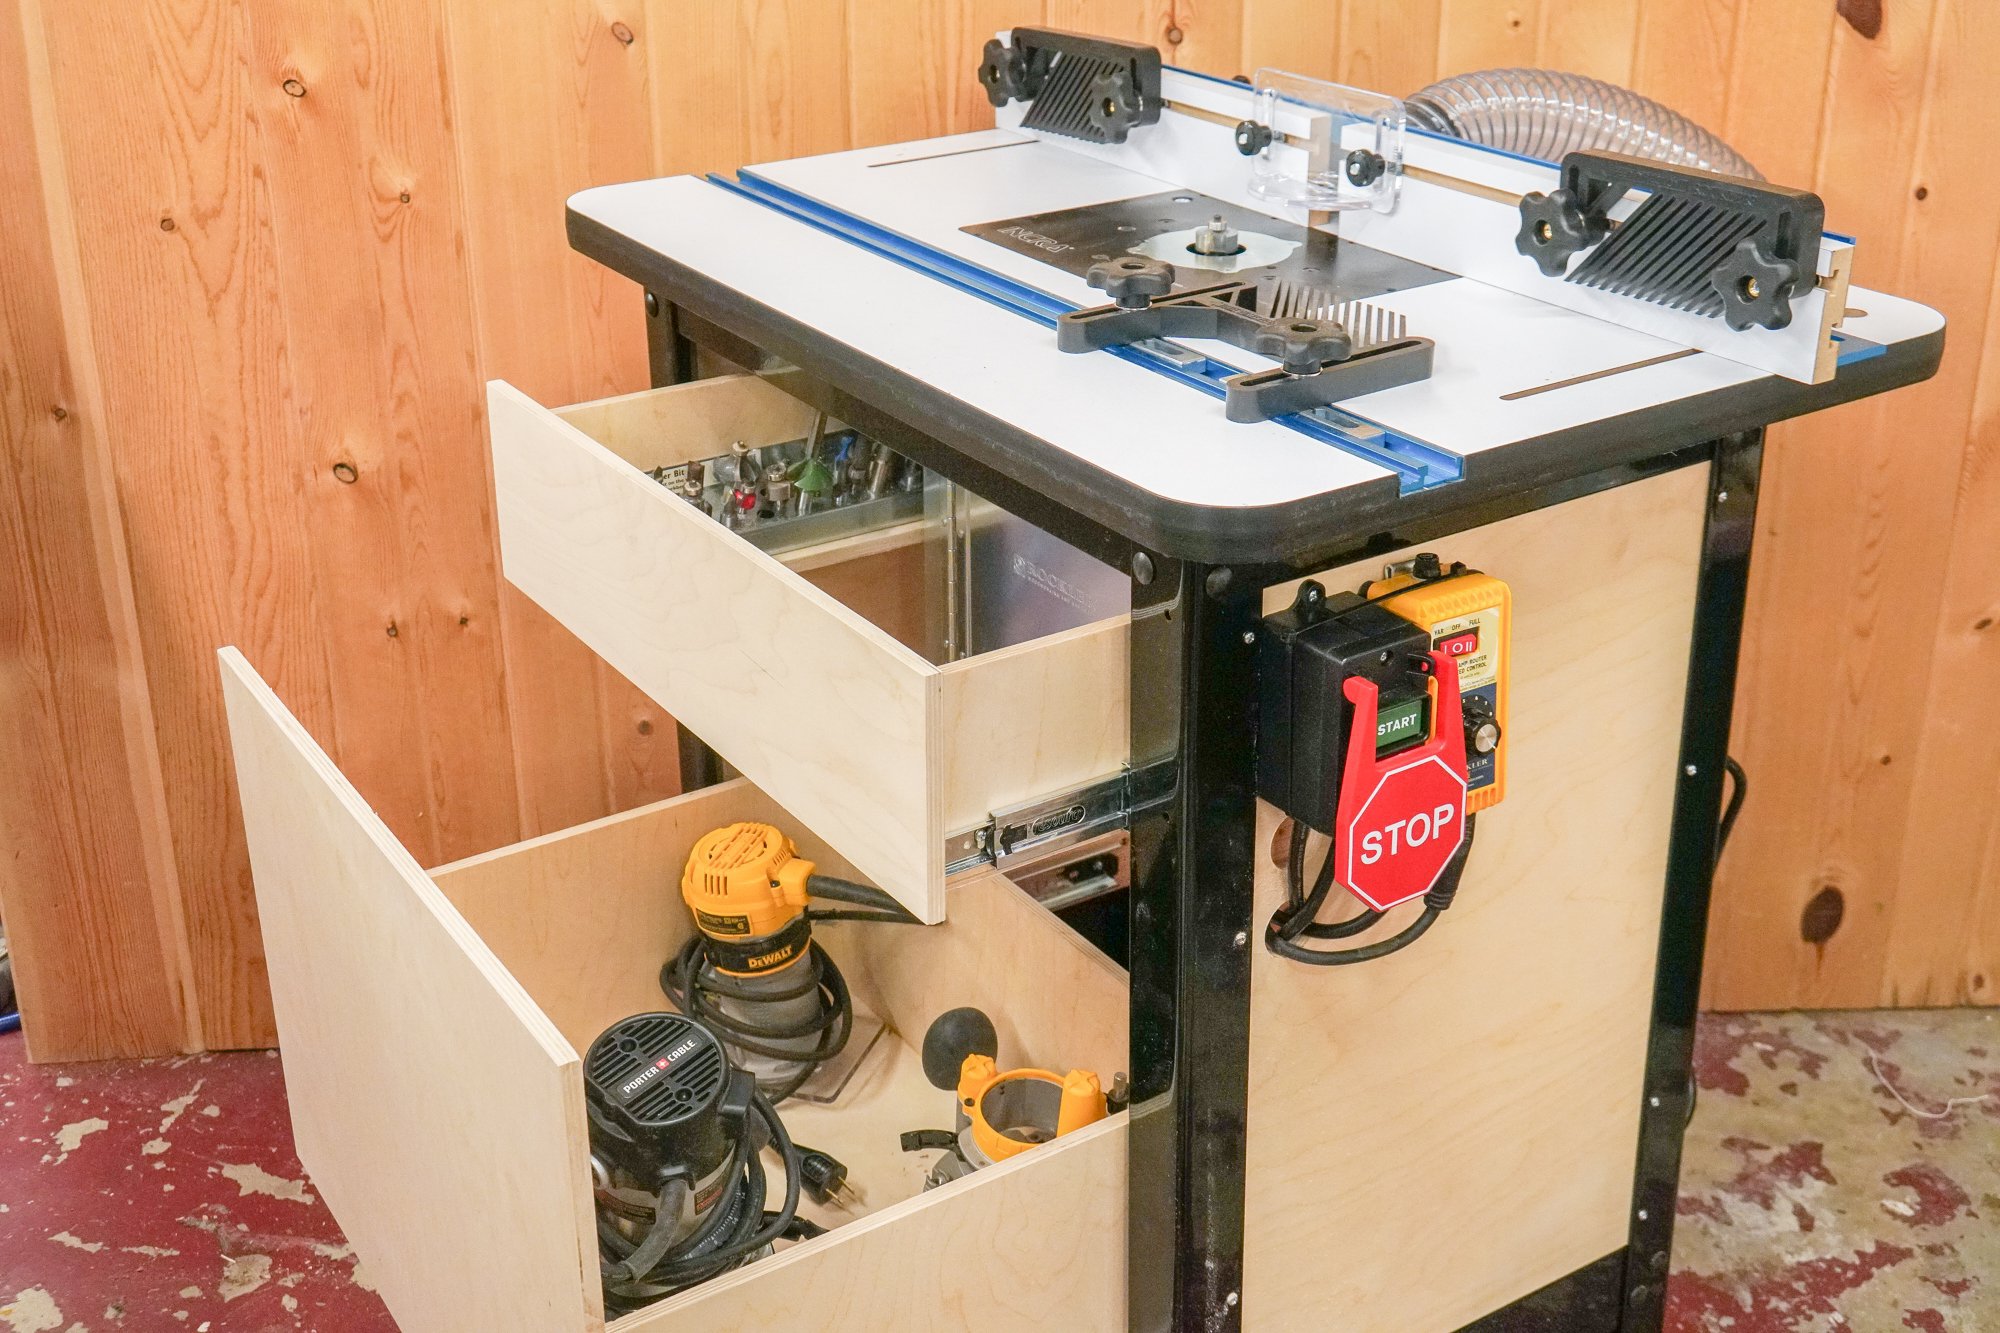
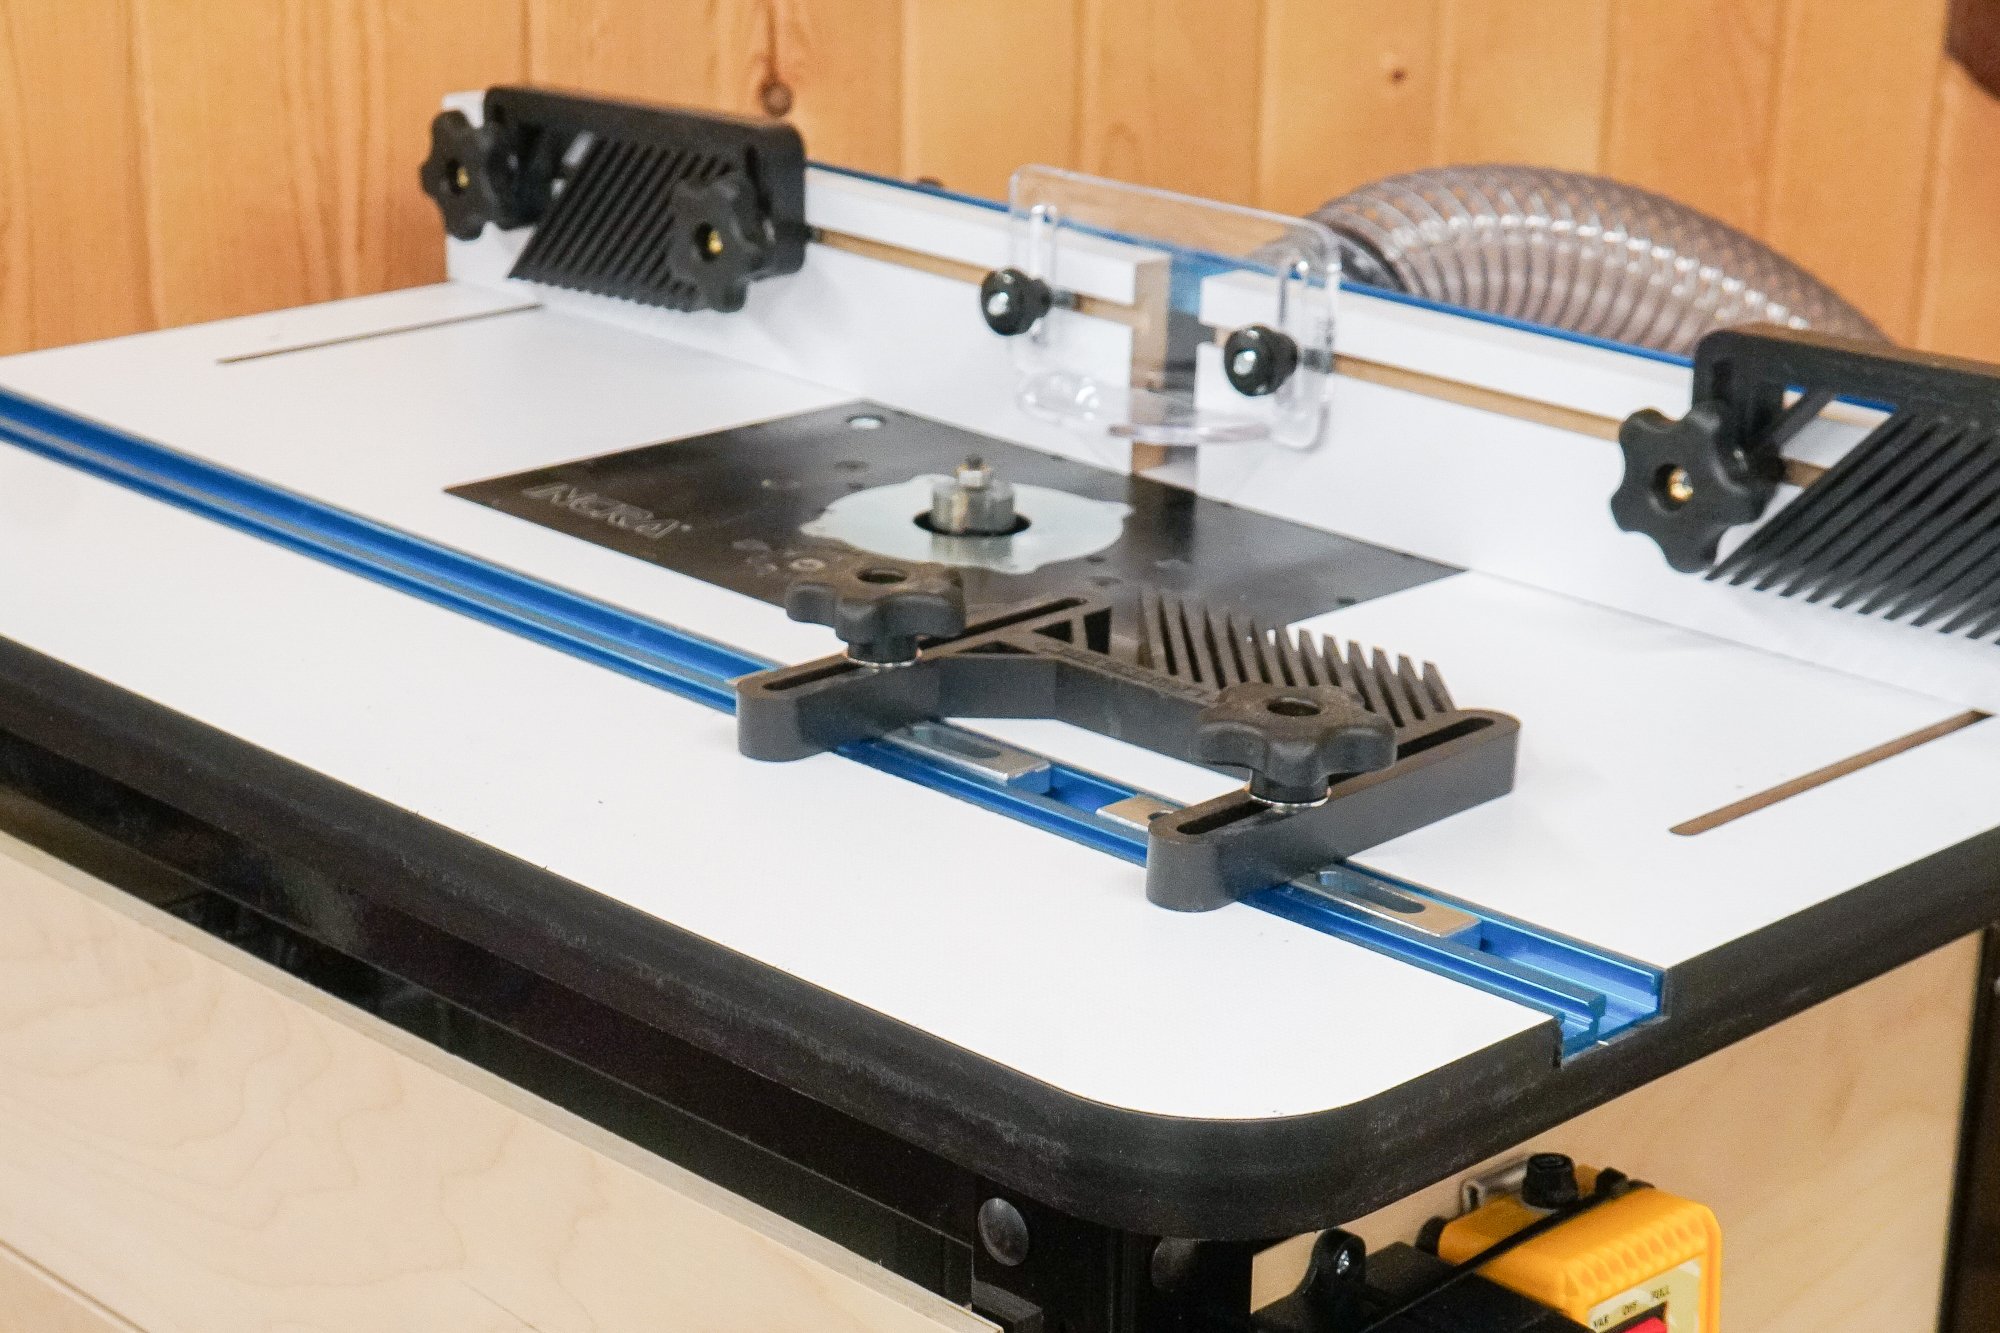
Build the dream router table with all the bells and whistles! With all the router table accessories you can think of.
Build the dream router table with all the bells and whistles! With all the router table accessories you can think of.


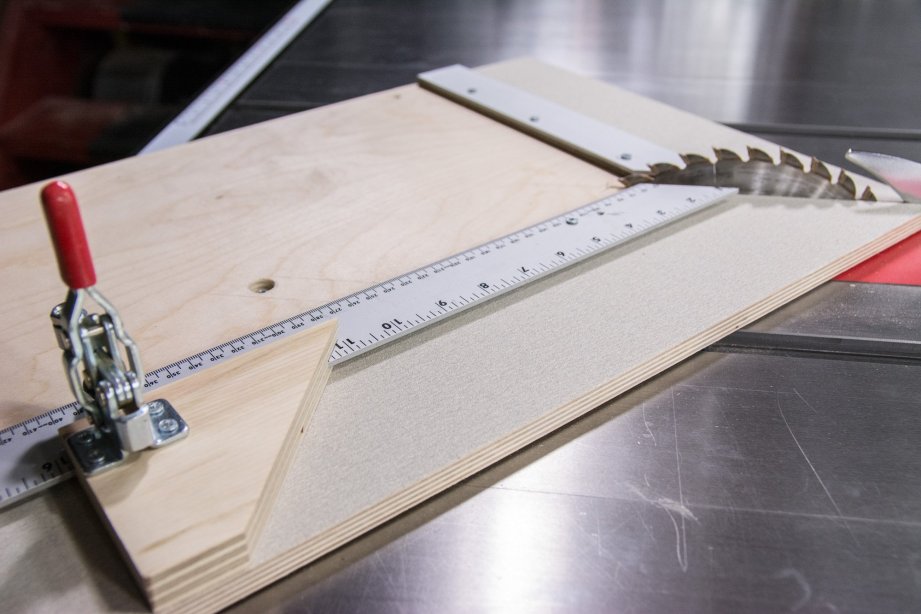
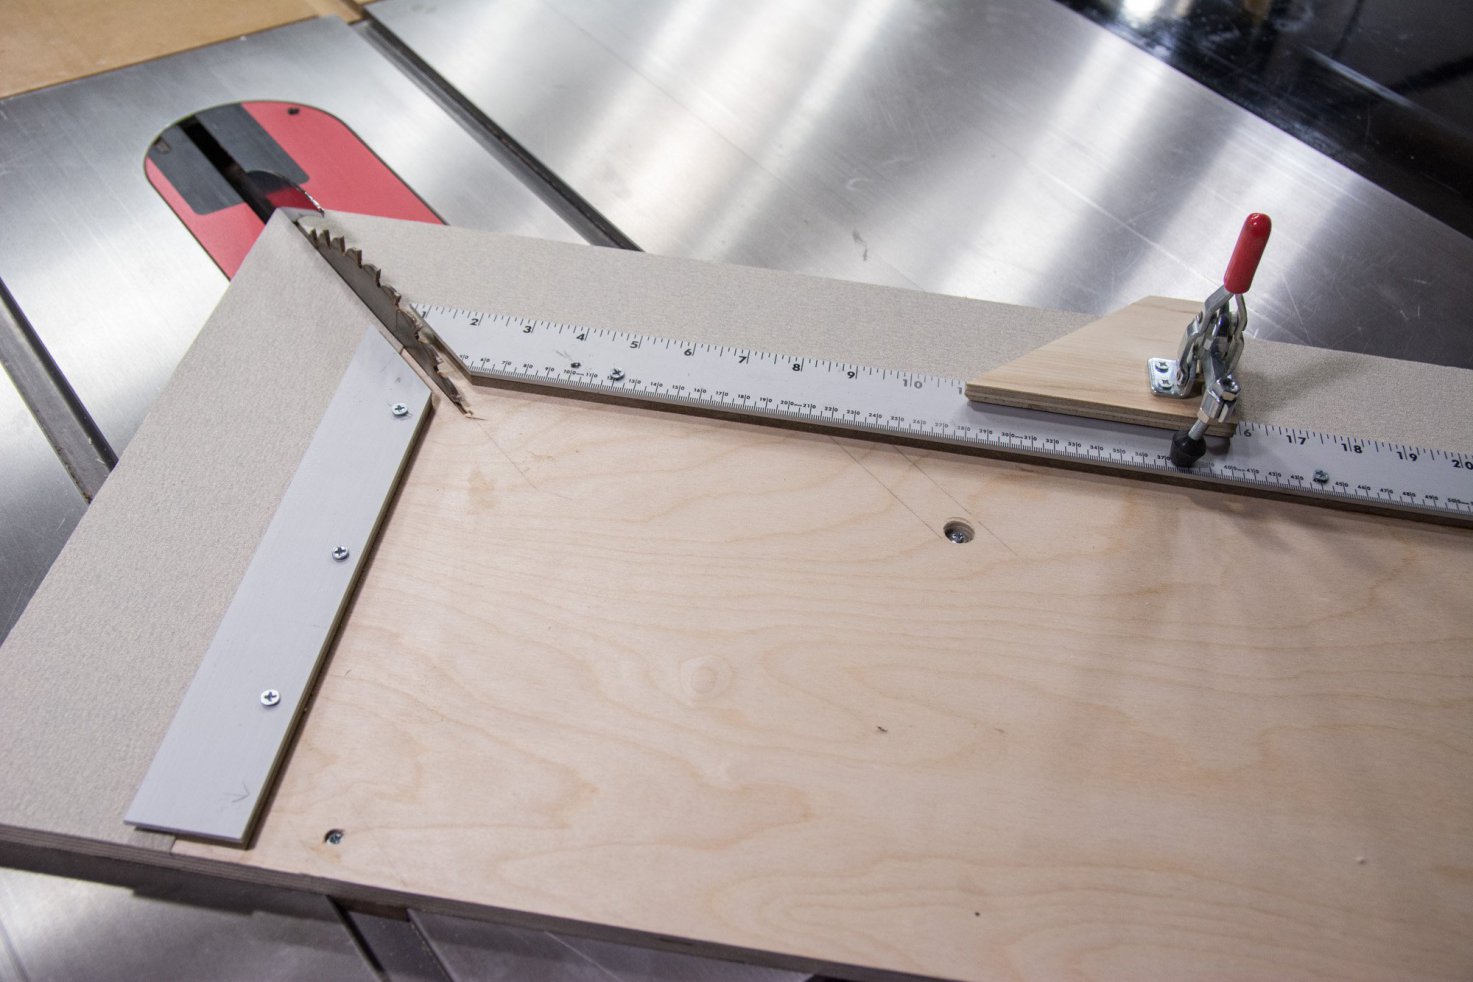
How to Make a Crosscut Sled for Tablesaw
How to make a cross cut sled for the table. This is a must have shop jig for every woodworker.
Tools and Supples Used In This Woodworking Project


How to Make a Block Plane
How to make your own wood block plane. It’s easier than you might think!
Making a Hand Made Wooden Block Plane
Even though I’m not much of a hand tool user I find myself reaching for my hand made wooden block plane all the time. It’s great for rounding over corners or cleaning up an edge. The block plane I’ve been using comes from a kit by Hock Tools. In today’s project we’re going to make a new block plane that’s just a bit bigger using the same methods and shapes. Making your own planes is much easier than you might think and just as good as those expensive metal planes.
In this tutorial I’m breaking a few rules and using coconut palm wood. This is not the type of wood typically found in wooden hand planes but I love to experiment and have fun. Coconut palm is just absolutely beautiful and visually unlike any other wood. It’s is a bit splintery but once you get everything sanded smooth and rounded over it works just fine.
Tools and Supplies Used in this Woodworking Project
- Festool Miter Saw
- Table Saw
- Microjig GRR-Ripper
- Digital Angle Gauge
- Jet Drill Press
- Hock Tools Block Plane Kit
- Titebond Wood Glue
- Adhesive Sand Paper
- Grizzly Bandsaw
- Disc Sander
- Spindle Sander
- Sharpening Stone
- Diamond Sharpening Stone
- Honing Guide
- Random Orbit Sander
- The Perfect Edge Book
- Boiled Linseed Oil
- Wood Files: Wood Files


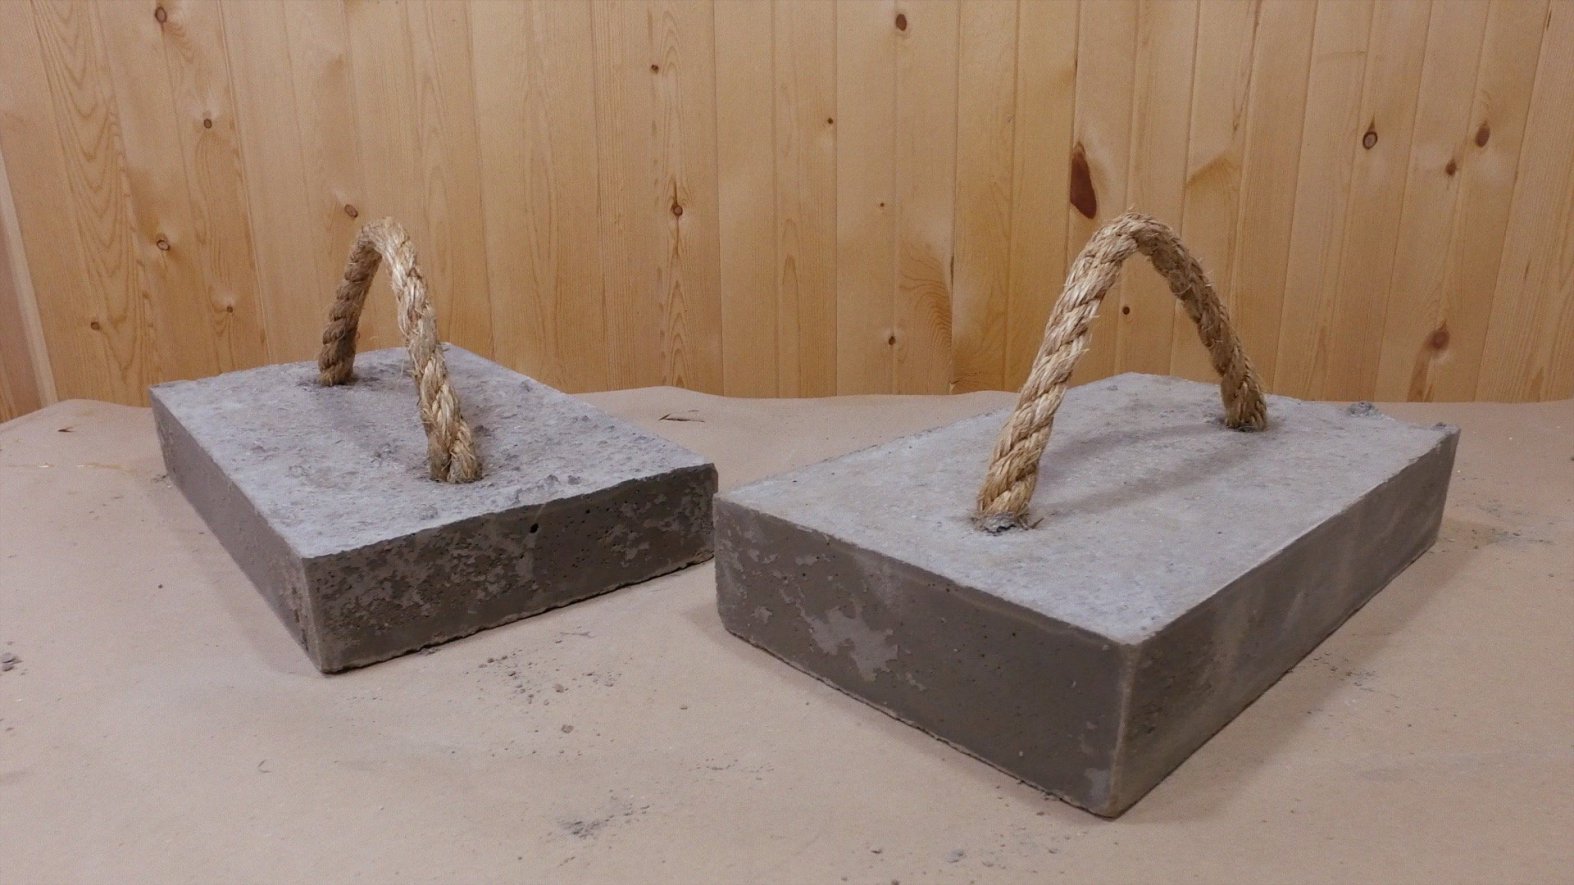
How to Make Concrete Weight Clamps
Making a pair of concrete weights with rope handles for the shop.


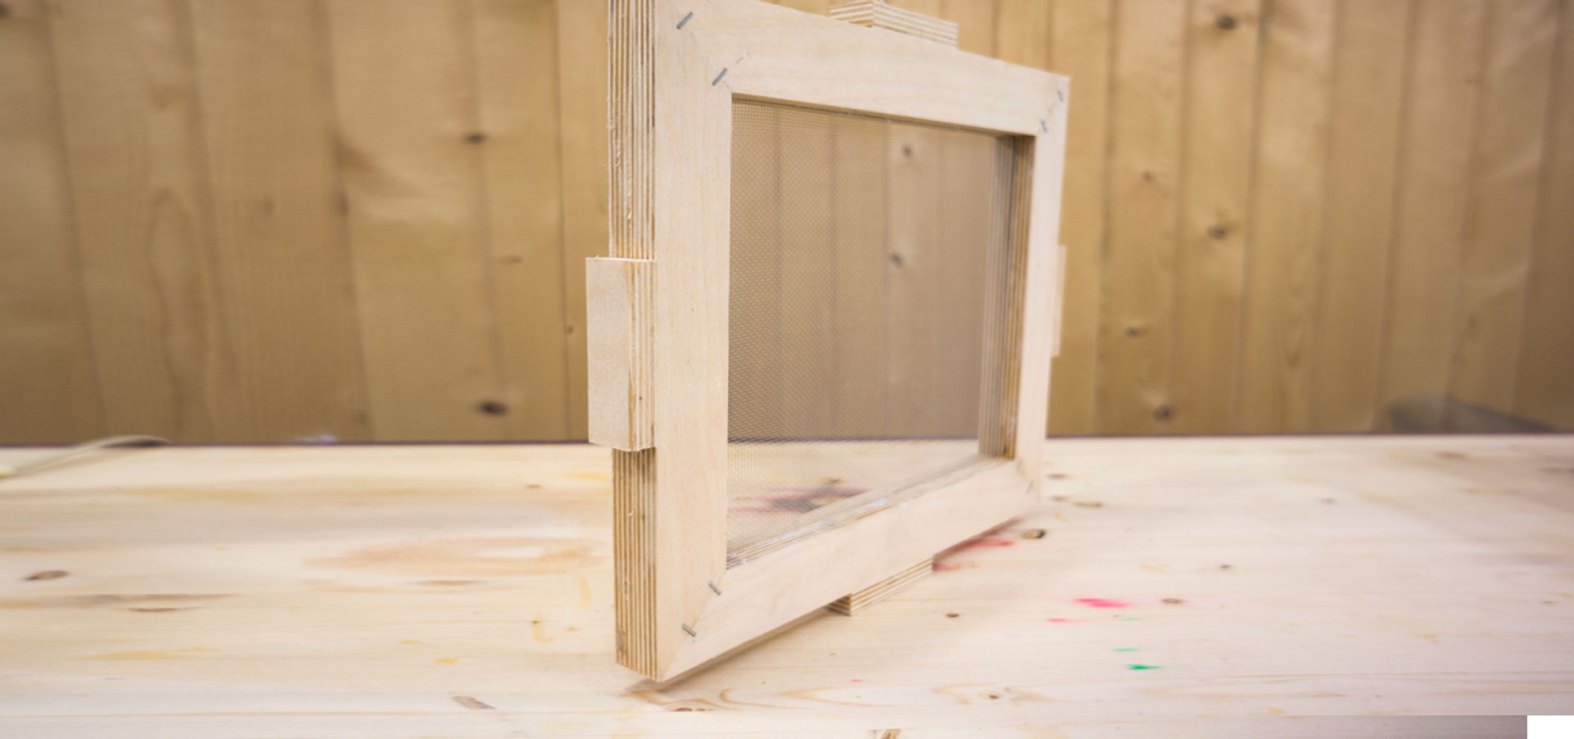
How to Make a Deckle For Paper Making
Making a homemade paper deckle is a real quick and easy project that anyone can do.
Products Used
Making a homemade paper deckle is a real quick and easy project that anyone can do. If you don’t have power tools you could make this paper making deckle with old picture frames. I’m using some scrap 1/2” baltic birch plywood and gluing the mitered corners with CA glue and staples. The screen used on this deckle is just ordinary aluminum window screening. The top half of the deckle is used as the paper mold and friction fits on top of the bottom half of the deckle.

How to Make a Spline Jig for Picture Frames
How to make a spline jig for easily creating mitered corners.
This is the second video in a multi-part series on picture frame making. You can find the other videos in the links down below. This here is a real simple and easy to make jig that rides along your table saw fence and allows you to cut splines in picture frames. Just using glue on mitered corners may seem good enough but over time as the width of the wood expands and contracts with the seasons the joints will eventually break. And that’s why you need splines. Unlike a lot of spline jigs, this rides along the fence and not in the miter slot which means you can place the spline anywhere you want and even cut wider splines by moving the fence and making multiple passes. Setting the blade height is easy since the corner sits just a hair above the table and the two guides easily clear the blade. Let’s get started!
I suggest using a full kerf blade with a flat grind. A thin kerf blade will work just as well and if your blade doesn’t leave a flat bottom cut, don’t worry about it too much. The tiny little gap that it may leave may not even be noticeable and it could always be filled in with sawdust and glue.
How to Make Picture Frames Series
Making The Ultimate Picture Frame Sled
This video gives you an overview on how to make the ultimate picture frame sled.
Here’s What You’ll Need
This is the first video in a multi-part series on picture frame making. This video gives you an overview on how to make the ultimate picture frame sled. In order to make perfect picture frames you need two things… One, the two corner pieces must add up to 90° and the short sides as well as the long sides must be the exact same length. This sled covers both of those issues as well as it allows for larger picture frames than a traditional miter sled stop system. Picture frames are not measured by the inside or outside length but by the rabbit so if your artwork or matte is 5×7 we can set the stop to create a frame for that exact size. To make sure there is no play in our sled we’re using the MicroJig Zero Play Guide bar system that adjusts to fit any table saw. Also, I must give credit to where credit is due. This is a modified and updated sled to one published by Fine Woodworking.


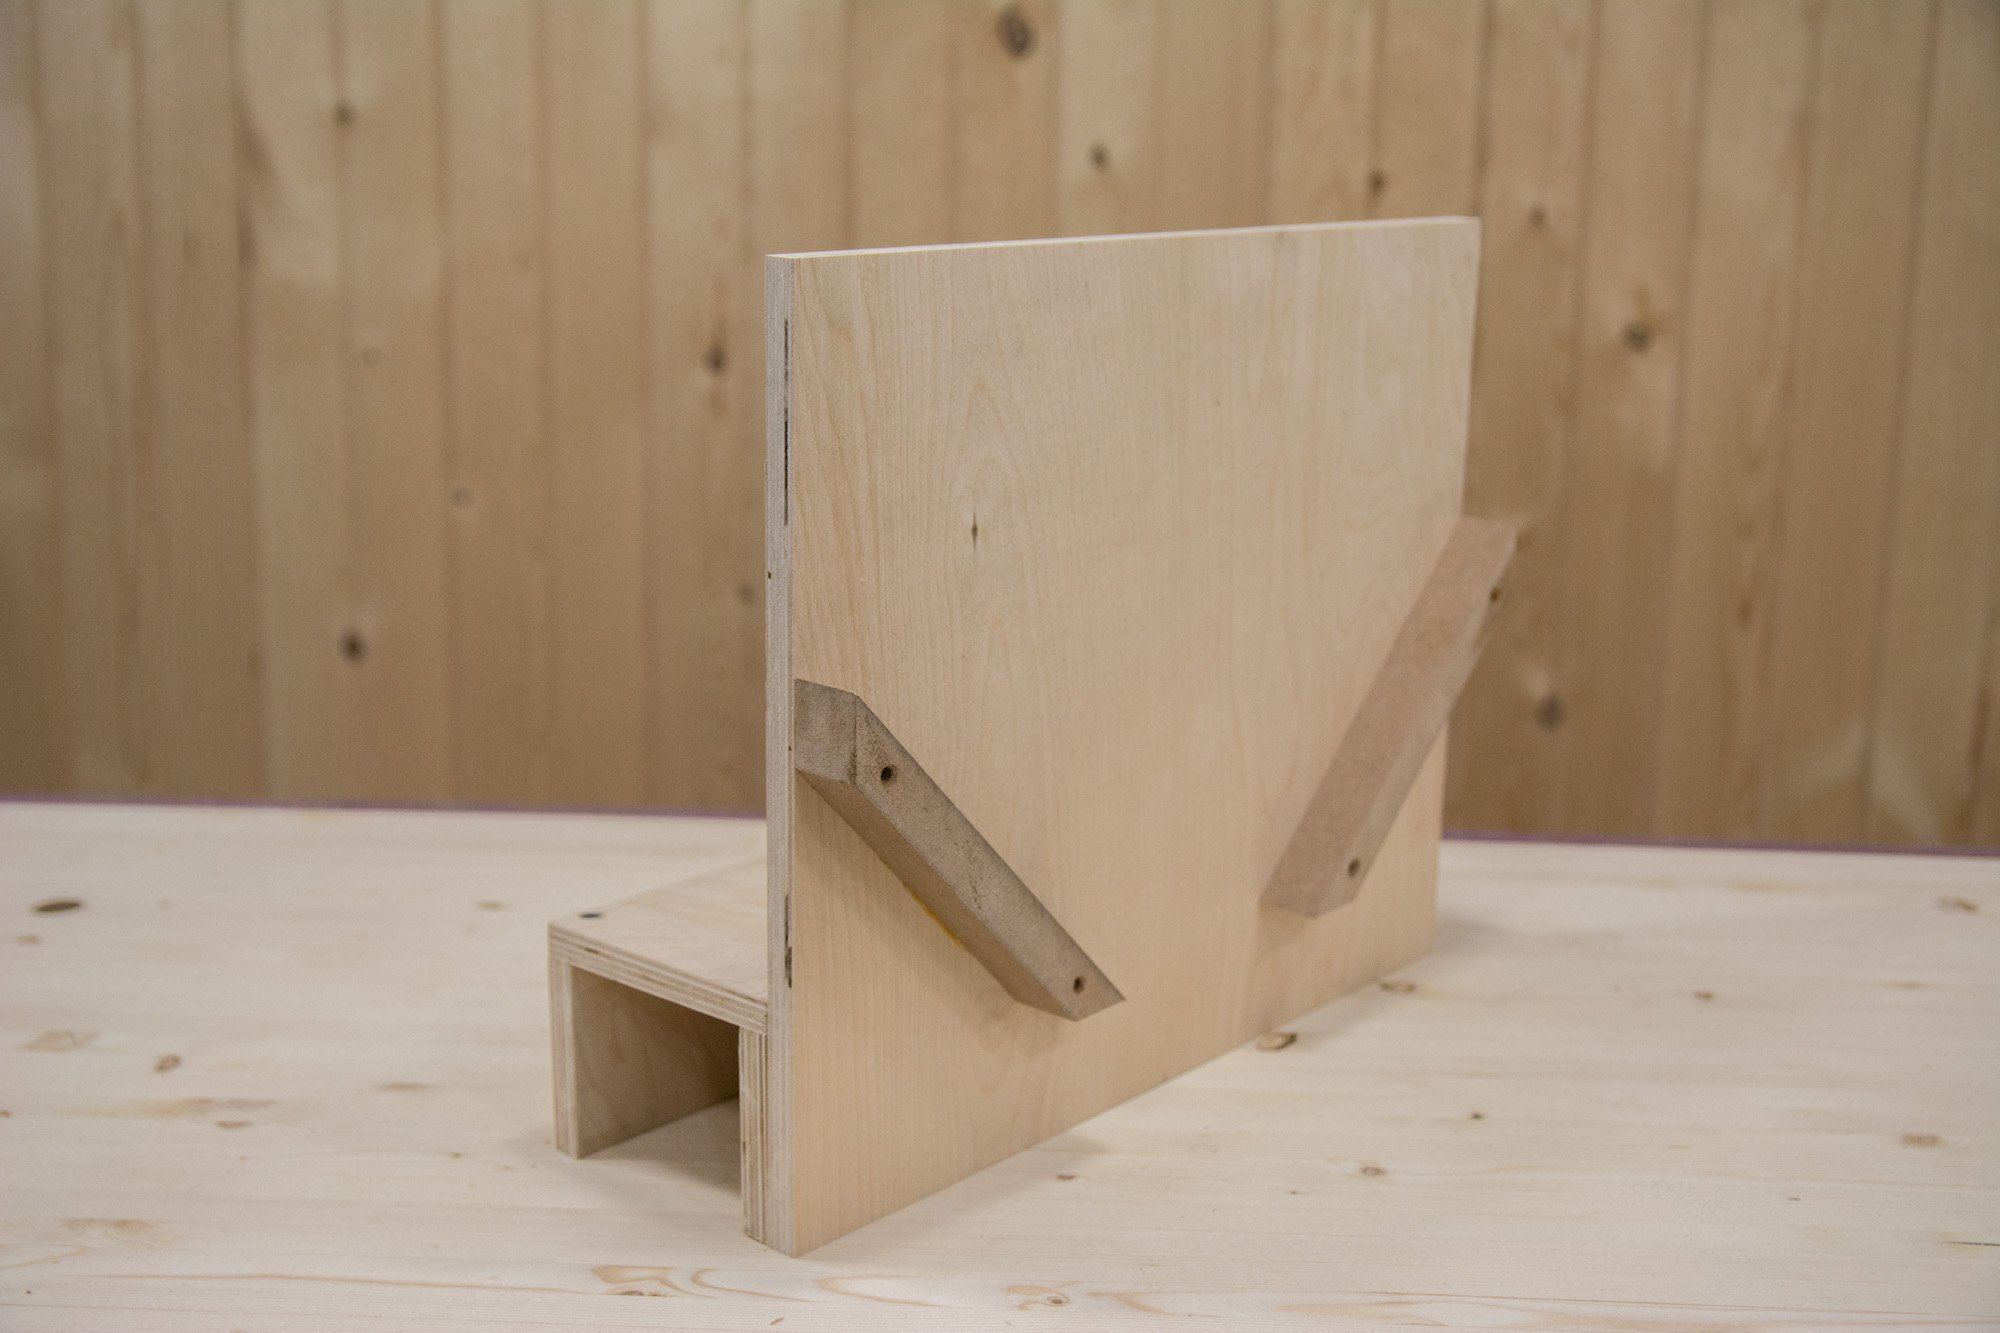
How to Make a Shop Stool Out of Plywood
Step by step video on how to make a shop stool out of plywood.
Step by step video on how to make a shop stool out of plywood. Made from just a half sheet of 4’x4′ plywood, this easy weekend project can easily turn into a bar stool set using templates and high quality plywood.
In a freak accident PDF plans for the shop stool have been lost forever.
Tools and Supplies Used In This Woodworking Project

Woodworking Books

Make Your Own Cutting Boards
15 cutting board projects to make as gifts or sell! Get your signed copy!

The New Bandsaw Box Book
8 bandsaw box projects you can make and sell at craft shows. Signed copies now available!